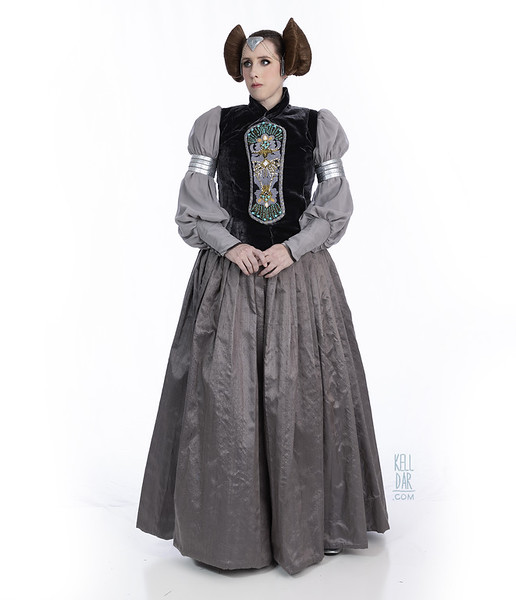
Padme – The Packing Gown
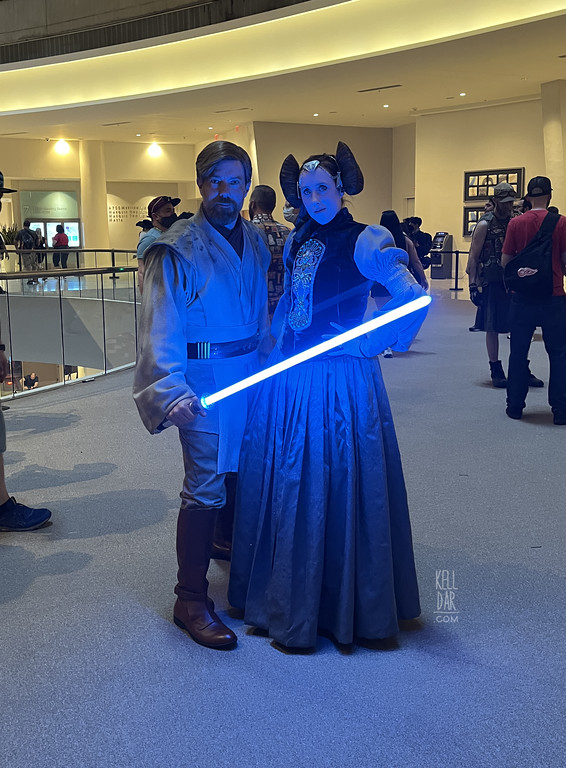
Made for: Dragoncon 2022
Journal Entries: Read more at my Padme packing gown tag
Related Costumes: Padme’s Lake Gown, 2019, Padme Tatooine Arrival, Padme’s Battle Suit, Padme’s Loyalist Committee Gown
![]()
![]()
Patterns Used: (none)

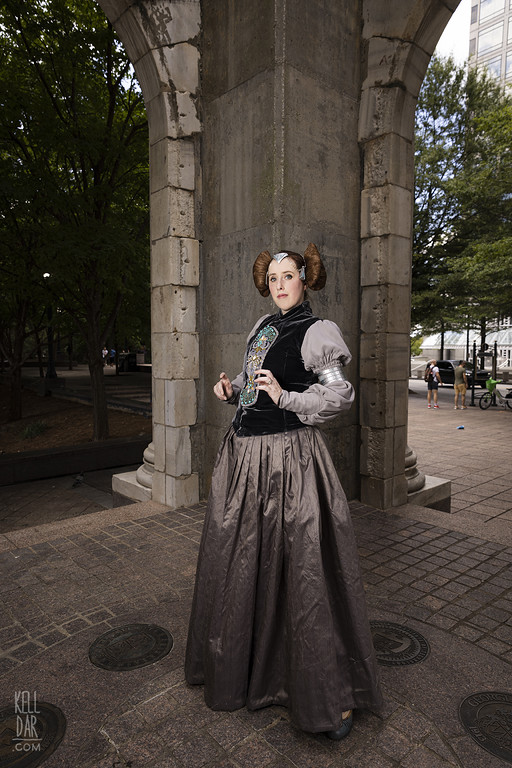
Skirt:
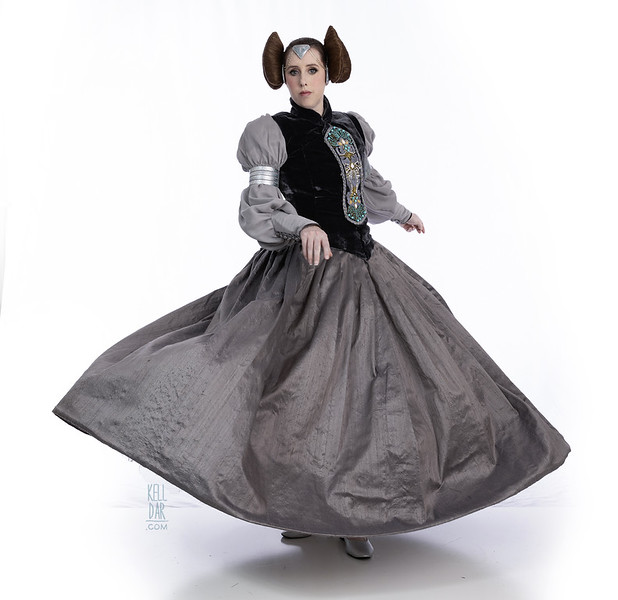
I’ll start with the skirt since it’s the first thing I made. I got a lot of swatches for various silks and ended up using the “baltic grey” silk dupioni from Silk Baron. I liked it’s high contrast lighter and darker threads running through it. I ordered 5 yards, cut some excess off the top of it so it was right length from my waist to the floor, then flat lined it in grey cotton. I went with cotton because I wanted it to have a little more weight and body then going with a basic thin lining fabric. So it’s literally just a big rectangle of the silk and cotton, with a single back seam.
Then I pleated it at the top… and re-pleated and re-pleated it and re-pleated it. For some reason I could never get it small enough, even though I was pleating it around my dressform with the right measurement, everytime I would try it on, it was too big. I finally got it close, and it’s still a little big – it overlaps in the back, but at that point I was like close enough is good enough!
I added a zipper to the back seam and made a waistband out of black fabric (some bottom weight fabric I also lined the vest with) with a hook and eye closure.
Under Bodice & Sleeves:
For the under bodice, I decided to use the pattern I’d made for my Scarlet Witch bodice the year before, since it fit so well. It’s made of a layer of grey cotton with a lining of a stronger twill fabric I had leftover from something else. It has spiral steel boning in the seams, edges are finished with bias tape and it laces up the back. I got this done VERY early, like back in April – and then it sat for a while until I got around to the sleeves.

I don’t know how many swatches I went through for sleeves – must have been like 20 – but ended up with mood fabrics’ “silver” crinkle silk chiffon for the outer layer, and the lining I TRIED to do as poly charmeuse. More on that later.
So I came up with a sleeve pattern, tested it out in some scrap chiffon and cotton a few times and decided it was close enough to move to my real fabric. I decided to just start with only the poly charmeuse – this was some cheap stuff, $2/yard, I was trying to save money here with the expensive fabrics for everything else. (I’d even dyed this poly chiffon to be a cooler grey to better go with my other grey tones). I got it cut, basted together to see how it looked – and hated it. The fabric was just not hanging right. So into the trash that went and I instead ordered some silk charmeuse from fabric wholesale direct (in “grey”). This worked SO much better.
So I cut the sleeves again, this time also cut the chiffon. Basted the 2 layers together – sewed in elastic at the upper arm where the armbands will sit. Then started working on the cuffs.
The cuffs were a pain in the butt – I ended up making 2 sets as the first ones were just not it. They were very finicky with the silk chiffon outer layer – on the first pair I cut too close to the edge of the silk chiffon in the seams and they ended up fraying. Second pair I tried to leave a bigger seam allowance (also changed the shape a bit), added in piping cut from some backup vest velvet I had on hand. Got a small button cover kit and got the buttons made, made the button loops from some grey rat tail cord.

Even on the second pair I had some issues with the silk chiffon and I ended up having to open them up and go back inside and fix things at least 3 or 4 times, either with the silk chiffon or repositioning something, it was frustrating and I never want to do it again.
Anyway once I went to get the cuffs attached to the upper sleeves that’s when I realized my pattern was not the right shape. I had the bulk of sleeve width at the top of the cuff angled more towards the body/the side and not towards the back. Thankfully I’d cut them bigger and longer than I really needed, so I was able to cut some excess off and reconfigure things to make it work. Got the cuffs on, then sewed the sleeves onto the under-bodice. The sleeves were absolutely my least favourite part of all this. Besides the hair, but that’s a given.
(Also… I did cut my sleeves with the crinkle running the wrong direction and didn’t realize til too late. Literally realized with my scissors halfway through cutting. OH WELL. My Bespin Leia crinkle is also running the wrong direction, so at this point we’ll say it’s not a mistake – it’s a trend!)
Lastly I don’t see anywhere in here where I mentioned the button cuffs. I had a hard time finding the right size of “cover your own button” kits. I finally found one and made my buttons, sewed them on, and at Dragoncon a couple of them came apart! So after dragoncon I went back and made new ones out of a slightly bigger size, thinking that would fix it. But I hated how the bigger buttons looked, they were just too big. A friend of mine pointed me in the direction of a different company’s kit that was the size I wanted, so I made a THIRD set of buttons. Thankfully this set seems to be staying together just fine! I don’t ever want to have to make a fourth set!!
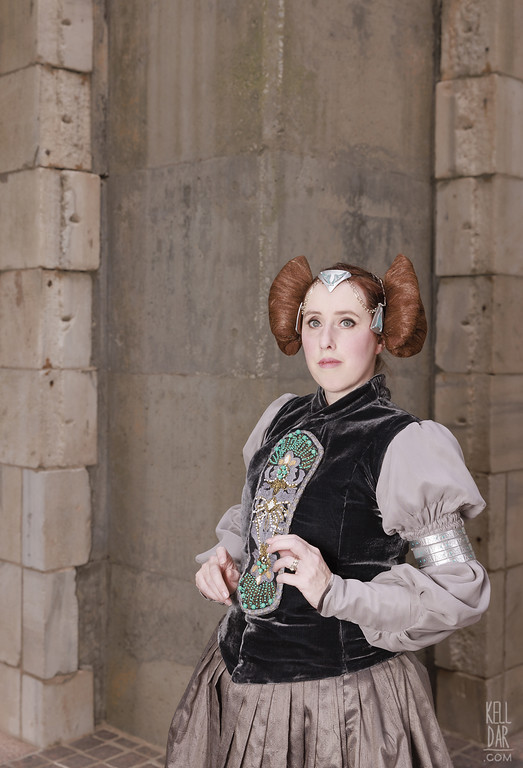
Vest:
So a major reason I decided to do this costume (besides the fact I love it), is because I thought all of the fabrics would be fairly easy to source. In particular I KNOW I’ve seen this colour of silk velvet MANY times. How wrong I was!

I did find a few things that would work immediately off the bat – but several of them were located in other countries with no options to get swatches and I wasn’t pulling the trigger on an expensive fabric like this without a swatch. I found 2 places in the US that did reply to my swatch inquiry – and then both ghosted me. Another place never replied even after 2 emails. Finally found etsy seller fabulessfabrics and they sent a swatch of their “charcoal” silk velvet – which got lost in the mail. It finally showed up 2 weeks or so late I think it was?
But worth the wait because it was what I wanted. I literally spent months just trying to get a swatch! So I got my 2 yards ordered and it arrived promptly. Yay!
Again I went back to the bodice pattern I’d made for Scarlet Witch the year before, and modified it to the vest shape. I went through 2 mock-ups with scrap fabric to work down the shape and fit, then used that as a pattern to cut out the silk velvet.
I flat-lined each panel of the vest in some bottom weight black fabric for structure. The 2 front panels are self-lined and I finished the interior seams and the sleeve openings with some bias tape just to clean it up a bit. For the collar I again just figured out a pattern, walking it through some mockups to dial in the shape, and once it looked right I cut it out of the real fabric and attached it.
From what I recall, the original vest closes with 2 rows of hook and eyes. One at the center hidden under the beaded panel and one on the edge of the beaded panel. I attempted to replicate this – I got hook and eye tape all hand-sewn in and fitted. But it was an absolute pain in the ass to close. So I took the hook and eye tape out and instead replaced it with a series of snaps. I have 3 snaps that attached the right panel to the under-bodice to keep it taut and in place, and then snaps up the center front and at the edge of the beaded piece that close the overlap. And one at the neck. That worked A LOT better.

Beaded panel:
Ok NOW we get to the fun part. This is what I REALLY wanted to do.
To start off, I found the best front-facing reference of the panel I could, brought it into photoshop and drew it out (mirrored), in just black and white lines to use as a guide.
I printed that out a few times in slightly different sizes to figure out exactly what size it should be. I finally settled on a size that looked right against my vest mock-up (though at the end of the day, with it finished, I feel like it could have been just ever so slightly bigger but oh well).
I used that paper print of it as a guide to cut out a base – the base is interfaced black faux suede, lined in grey lining material.
To create a guide for the embroidery, I set up the pen attachment on my silhouette and then sent my original black and white drawn guide to the silhouette to draw it on some sticky-back stabilizer. Similar to what I did with the Liberty Dies Padme floral pattern last year. After it was “printed” I cut it out and stuck it onto the back of my base to use as a guide.
Now to embroidery! I did take some creative liberties with the design and some choices I made – sometimes just because I couldn’t make out details in a certain area very well and sometimes just because I felt like it.
I used a cool grey-ish blue embroidery floss for the bulk of the base embroidery. Beeswax for the thread and silicone finger grips made things go a lot easier.

For the metallics, I played around a lot. I decided to do 2 layers of metallics – there’s an under-layer where I mixed copper thread, a dark grey-ish blue glitter thread, and black glitter thread all together. I could tell more was going on in those areas than just the gold, and this is what I decided I liked.
For the gold areas, I did use a gold embroidery floss but I cut it with the black glitter floss I used in the under-layer. The gold by itself just didn’t look right to me.
After all the embroidery was done, I pressed the whole panel and then started beading. I used white and turquoise beads of various sizing. And I know I keep calling this the “beaded panel” but there’s way more embroidery than beading LOL
For the trim around the edge, I found a metallic trim that looked pretty close. When it came in it was much shinier than I expected, and smaller. I’m glad I ordered more than I needed, because I ended up having to sew it side-by-side to widen it to make it large enough to wrap around the edges. I also darkened it up with a light coat of watered down grey paint.
I sewed it onto the edge on one side of trim using my zipper foot, then folded it over and finished it on the back. I went around it with the grey-blue embroidery floss in bands to finish it off. Then I made a backing out of a piece of black fleece and sewed that onto the back to finish it off.

My only major nitpick about how this turned out is that I lost the upper point. That metal trim just did not want to obey and I had a hard time getting it to “point.” I opened this thing back up twice in an attempt to make it appear pointier, but nothing really worked. (Plus, I think there is also an optical illusion happening when I have it on – since the entire top section angles back because of the shape of my chest, I think it ends up looking smaller at the top than it should which just exacerbates the “point is too curved” problem)
Anyway, once it was done I sewed it onto the vest by hand.
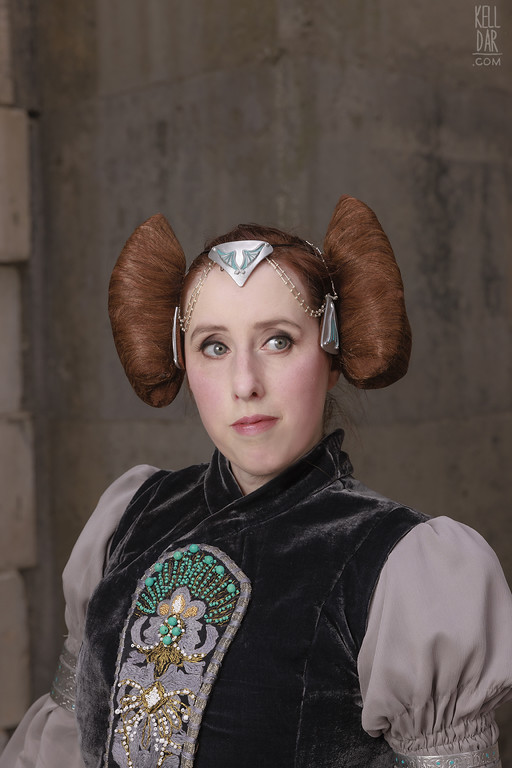
Hairpiece/Tiara:
YUCK! Ok I hate making hairpieces and styling wigs. Wig hair is just such a pain.
But anyway, I started out by making a paper pattern for the 2 hairpieces – a sort of horseshoe shape, bigger at the bottom. Tested that out holding it up to my head to see if the size and shape looked right. It was close enough so then I used that paper pattern to cut the same shape out of kobracast. Then I glued some foam into the interior to pad it out, and then wrapped it in brown fleece.
The wefted hair extension I got for these were like… made of completely heat resistant fibers I swear. They were curly and of course I was like, oh I can straighten it. Well no amount of steamer or hair dryer heat would loosen up those curls. Finally had to go at it with my crimper on the highest setting.

I sewed the wefted edge right into the inside curve of the hairpieces, then wrapped the hair around, heat-setting it into place and finally gluing down the loose ends again right in the inside curve. Then I sewed that curve closed, sewed a hair net around each piece, and sewed them onto a headband. They’re not perfect but they’re fine.
The tiara pieces were 3d modeled by my husband and printed on our resin printer. He painted them silver for me and then I did the detail areas with teal paint. All of these pieces are attached to the same headband the hairpieces are attached to it, so it’s all one piece.
Etc:
The armbands are also printed on our resin printer, and painted. They are all connected with a vertical piece of worbla (to make them all into one unit and evenly spaced), and the openings have elastic. This was the biggest issue I had with the costume at Dragoncon – the armbands wouldn’t stay in place, so I’m going to have to find an attachment method to attach them to the sleeve so no more sliding down.
The shoes were some I had on hand, they had a cute 30s kind of shape to them and were a dark teal which matched the beads on the embroidered panel, so I thought they were cute. Unfortunately they started peeling while I was wearing them, so I guess they are permanently demoted to costume shoes now. I may paint them to better match the costume in the future.
History: I’ve got a few things to fix before I wear it again but nothing major. Overall pretty happy with it.
![]()


![]()


Please note that none of these costumes are for sale! This is my personal portfolio.