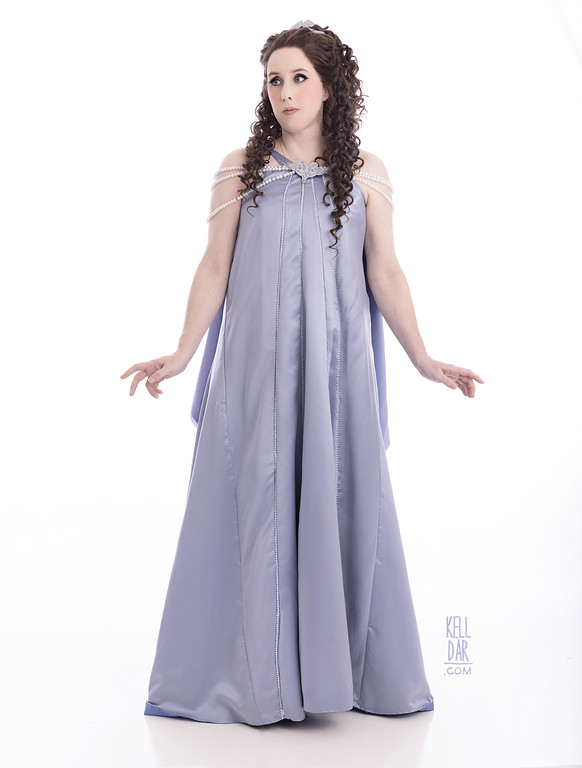
Padme – Veranda Nightgown
Made for: The Great Drought of 2020
Journal Entries: Read more at my Padme nightgown tag
Related Costumes: Liberty Dies Padme, Mustafar Padme, Funeral Padme
![]()
![]()
 Patterns Used:
McCall’s M4995
Instead of breaking this into segments like I normally do, I’m just going to go through this one chronologically in a timeline… because it’s got a wacky history.
2006:
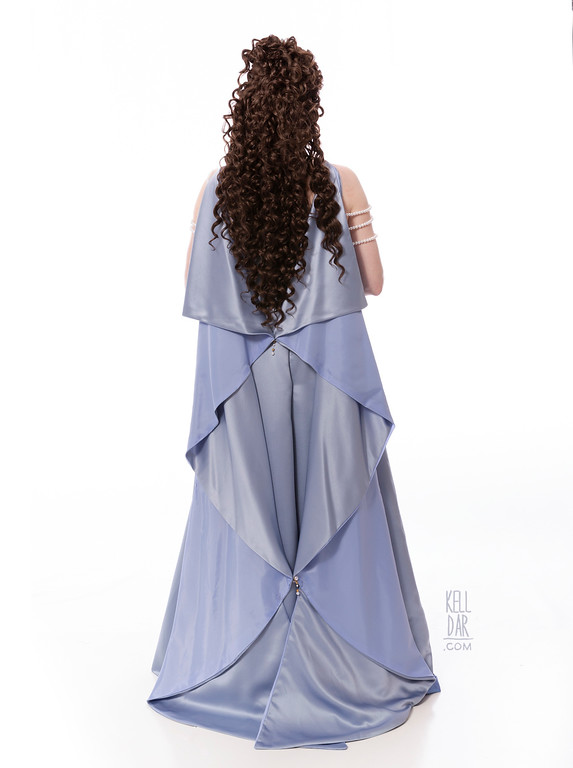
In 2006, at a Hancock Fabrics in Nashville, I found this matte satin that looked like it was a pretty good colour match for Padme’s “Sleepless Knights” Veranda Nightgown from ROTS. I bought some yardage because I figured it’d be a quick easy project. I threw together a basic dress shape – just a front panel and a back panel, and then started trying to figure out the back “wing” panels. I wasn’t intending on doing the heirloom stitch between the front seams at the time, was thinking maybe just sewing a trim on – this was just for fun, not RL approval.
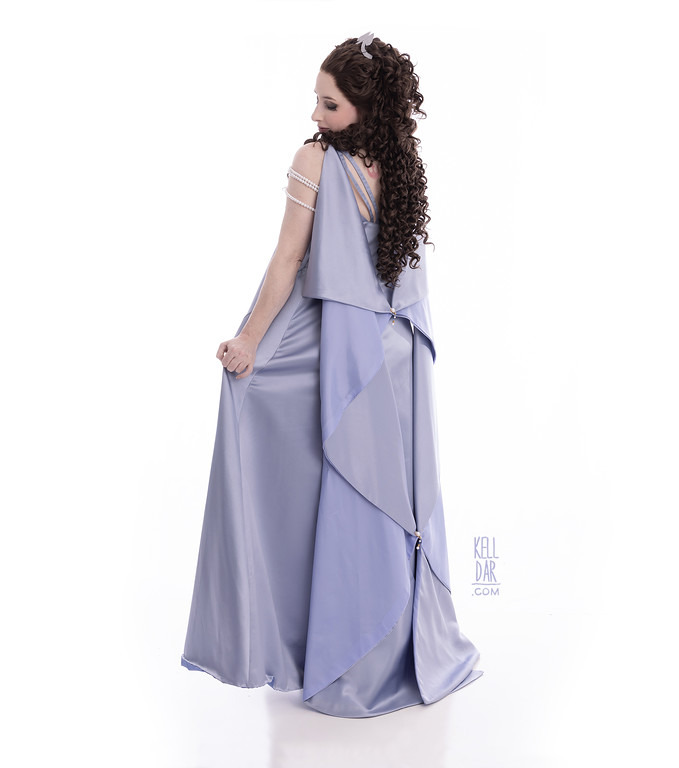
I couldn’t figure out the wing shape so I ended up getting the McCall’s pattern linked above, and using the “wing” panels from that pattern to cut mine. As soon as I got them cut and started pinning them on my form I realized they really needed to be lined. I didn’t feel like doing that and was working on other projects soooo I stuck it in a box. Where it stayed til summer 2007.
2007:
Once I picked it up again, I ran out and got some lining material – I didn’t have enough of the satin left, couldn’t find more, so I had to just settle on a “close enough” colour. I got the lining and wing panels sewed together, got the straps made and lengths of pearl beads strung together. My husband (fiance at the time!) made the brooch for me out of plastic. I even went out and bought a trim to use for the stitching on the front, though I hadn’t sewn it on yet. It was so close to being done, just not assembled! I hadn’t sewn the wings or straps on yet. I once again got busy and put it back in the abandoned projects box…
2012:
Early 2012 I went through a period where I had nothing to work on so I dug into the abandoned projects box to see what I could finish – my Belle village dress was one of the things that resulted from this! And this is another one I pulled out, because I realized it really didn’t need much else to be finished.
Or at least, so I thought. Once I had it out and took stock of it, I realized… it needed a lot. The hem at the neckline and bottom of the dress were absolutely tortured. I popped them out to try to fix them. And I realized I DID want to at least try to make it look like I had the heirloom stitch in there. So I took scissors to the front panel, cutting it into what I thought was 4 equal pieces that I could then just turn the edge over and sew the trim onto the edge to join them back together.
I got all the edges sewn over, and started trying to sew the trim on… I got two lines in and realized it looked horrible. My “equal” panels were absolutely not, they were crooked and where I’d turned the edges over looked horrible. So guess what? I threw it back in the box.
2020:
At this point, somehow this half-baked costume has survived FOUR moves and all the de=stashing and cleaning I did with each one. I guess I really thought I might finish it one day. I had no plans to do so… until coronavirus.
With everything canceled and not being able to go out and buy materials for other projects, I once again went looking to the abandoned projects box. I took one look at this nightgown mess and decided… it is time.
First order of business was to completely take everything apart. I took every single dress panel apart, unpicked the seams and hems. That took a really long time, because I had used some tiny stitches and invisible thread (I HATE invisible thread, I don’t use it anymore, this was a great “case in point” why). Once I had the dress panels back to their starting point and ironed, I used them to cut out some blue lining I had on hand. I didn’t want all the stitching of having turned over edges, so I decided to line every dress panel. I assembled the back and sides together and lined them as one piece – then lined each individual front panel so it would have as clean as look as possible.

I say “as possible” because all the work done to these pieces over the years left it in a sad state. I tried to hide as much as I could, but there’s damaged spots from me having to unpick all that invisible thread, places where I accidentally cut the fabric while trying to take things apart, and a few small stains as well, I guess just from being wadded up in a box with random junk for years. At least I was able to sort of fix their wonky shapes while lining them.
I should have labeled all the pieces though, because once I started to reassemble them I couldn’t remember what went where LOL. I actually ended up with one panel that I simply could not figure out where it went. And the dress seemed to fit without it… so I left it out! Haha.
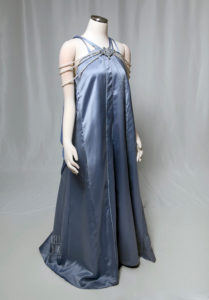
Once I had the cleaned up panels ready, it was time for the trim. I decided to stick with still using the trim in place of the heirloom stitching – I just hand-sewed it directly onto the backside edge of each panel until all the panels were assembled. Once I had them all together and could put them on the dressform, I hemmed each panel by hand.
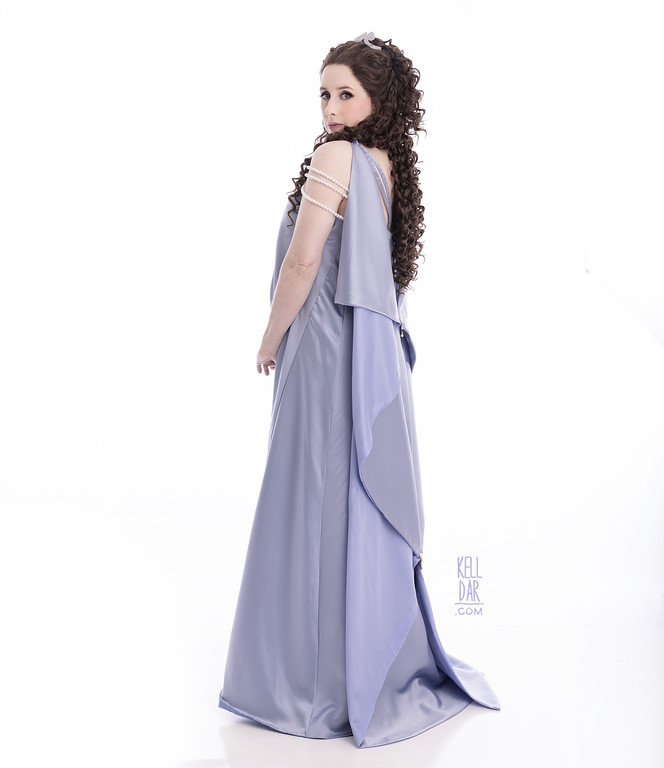
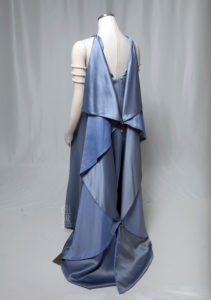
Success!! The dress was back together. It would never win any awards, but it was the farthest I’d ever gotten on it. The nice news is that the “wing” panels and the straps were still usable without any fixes necessary – though I had a hard time remembering how the “wings” went. Once I figured it out, I hand-sewed the straps and wings in place.
Somehow in all those years I’d never lost the straps I’d made, but I did lose the strung pearl beads. So I made new ones (thankfully I have a ton of pearl beads) – I had to go back and edit the length a few times, I kept getting them slightly wrong.
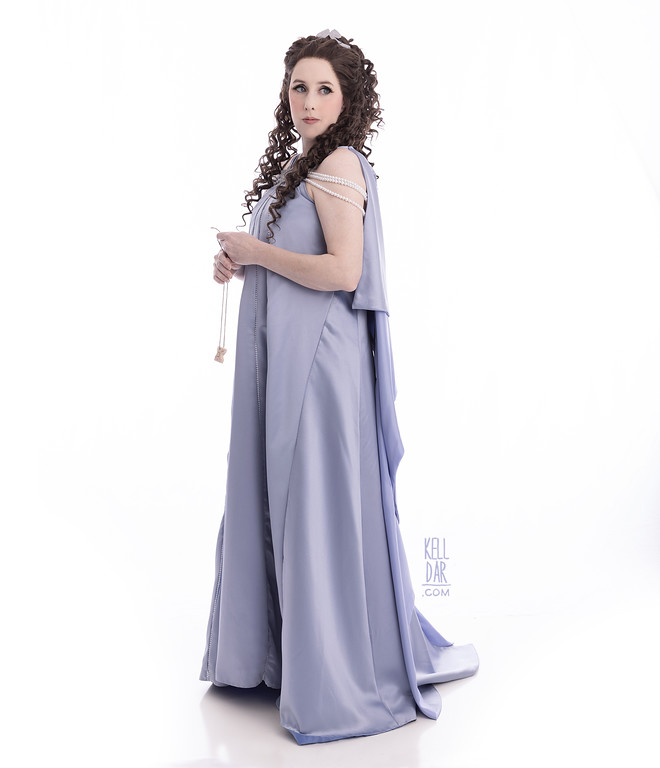
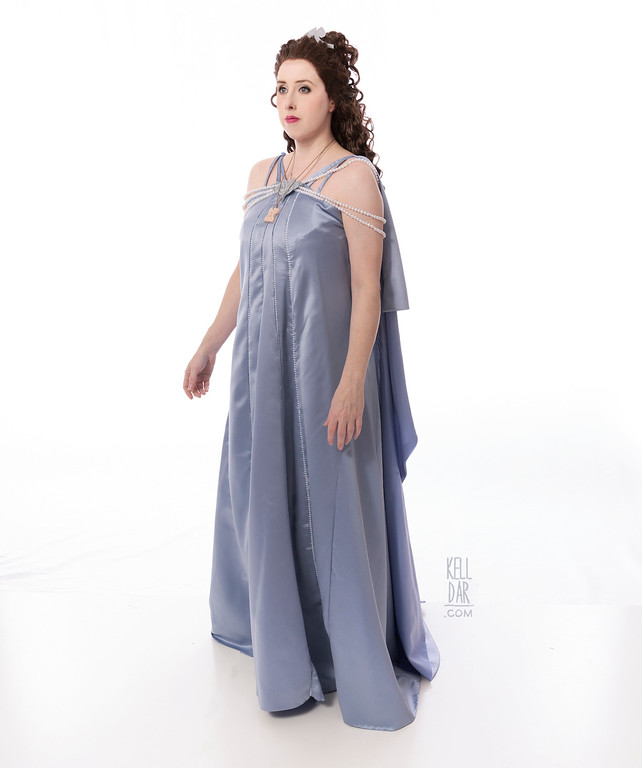
But she was nearly done!! Now I just had accessories to deal with. Originally I was going to stick with the plastic brooch my husband had made, but he suggested we buy the brooch/hair “tiara” available on Shapeways instead. So that’s what we did, and they’re very nice – my husband painted them for me and both just pin in place – a pin back on the brooch and bobbie pins for the tiara. The jewel pieces on each connection on the wings were just clip-on earring bases with random bits and bobs I found in my stash.
I dug out a pair of old cloth mary jane style shoes I’d had for ages and covered them in some velveteen that matched the colour of the dress. Nothing fancy but they’re comfy. I used my baby bump pillow from Funeral Padme (I did some photos with and some without – I think it sits better without so that’s most of the photos I have here) Finally, I bought the wig on amazon. It looks awful on me but oh well. It’s not like I’m going to wear this anywhere. This whole project was literally just for me to scratch something off my list after 14 years.
History: Like I said, I’m not going to wear this anywhere. I think I did a decent job of “rescuing” it and making it wearable, but it’s far from perfect. I’m just glad to have it done.
![]()
(First row is progress pics from 2006-2012)


![]()


Please note that none of these costumes are for sale! This is my personal portfolio.