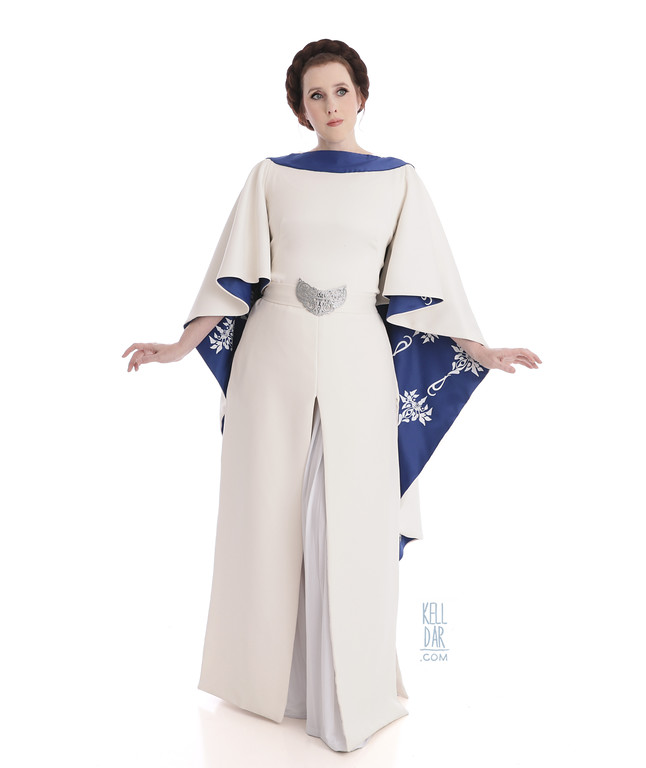
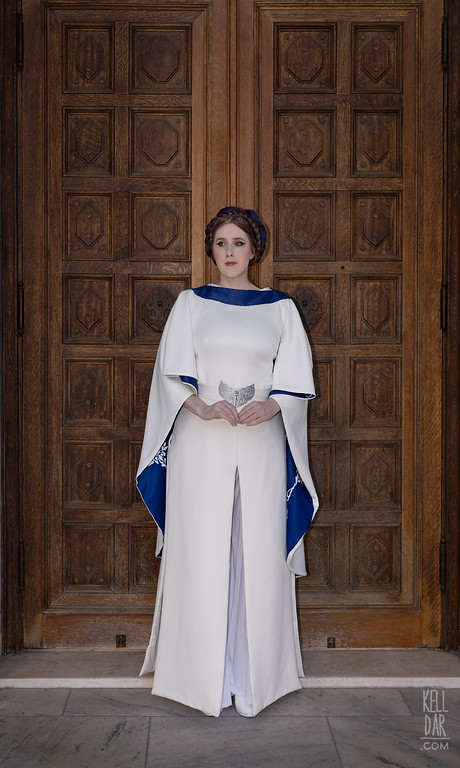
Breha Organa – Party Dress
Made for: Dragoncon 2023
Journal Entries: Read more at my breha organa tag
Related Costumes: Honeymoon Leia
![]()


![]()
Patterns Used: Simplicity 8134 (pants)

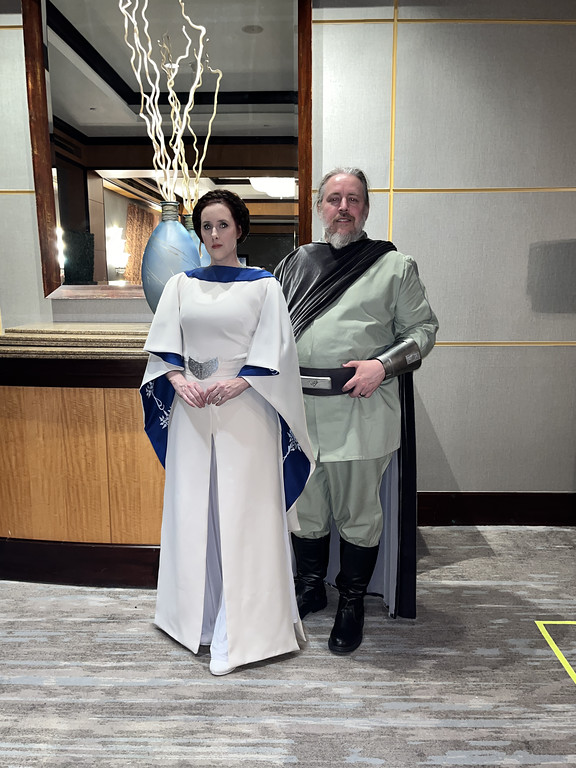
Background: I have wanted to make Breha’s costume from ROTS for yeaaaars. Like since I first saw it onscreen in 2005. But never worked out. So when we got new Breha content in Kenobi and she shows up in this — I decided this is what I was going to make.
I actually wanted to do the teal outfit from the last episode, which I loved equally, but decided the one one was more striking with the patterned cape. Also, easier to source fabric.
The Pants:
I started with the pants, which I usually don’t do! But I was at an in-between spot with Nadja and my pants fabric had arrived, so I decided to get them done.
The fabric I’d picked out was a sheer pleated chiffon. I used a pajama pants pattern, and lined the sheer fabric in a swimsuit lining material so it wouldn’t be see-through. Got it all put together, elastic waistband installed, tried it on… and hated it.
I realized the chiffon fabric was not right. The pleating wasn’t right, the sheerness wasn’t right. And I just hated how the pants looked in general. So I tossed them in a corner and started over.
I experimented with pressing pleats into the swimsuit lining and that worked ok, so I decided to just use what I had leftover of that, plus bought a little more to finish it out. I also bought a new pattern to use (linked above) that would hopefully fit a little nicer. I basically took rectangles of the fabric, pleated them down to where they fit the pants pattern pieces, then cut them into the right shape. I sewed the pleats down at the top edge, and installed a waistband. These turned out MUCH better.

As of this writing (7/13), I haven’t decided how i want to finish the bottom edge. I don’t to hem them and mess up the pleats, so since this fabric won’t fray, I may just cut them cleanly and leave it at that. (edit: I did end up hemming them by hand before dragoncon.)
The The Dress:
For the dress I decided to start with a new duct-tape dummy. Got that done and used it to create the pattern for the top (then taped it back together and kept it on my dressform for fittings).
Even with the pattern from my duct tape dummy, it took several mock-ups to get the darts and neckline fitted right. Once I did I got that moved to a paper pattern to start cutting my real fabric.
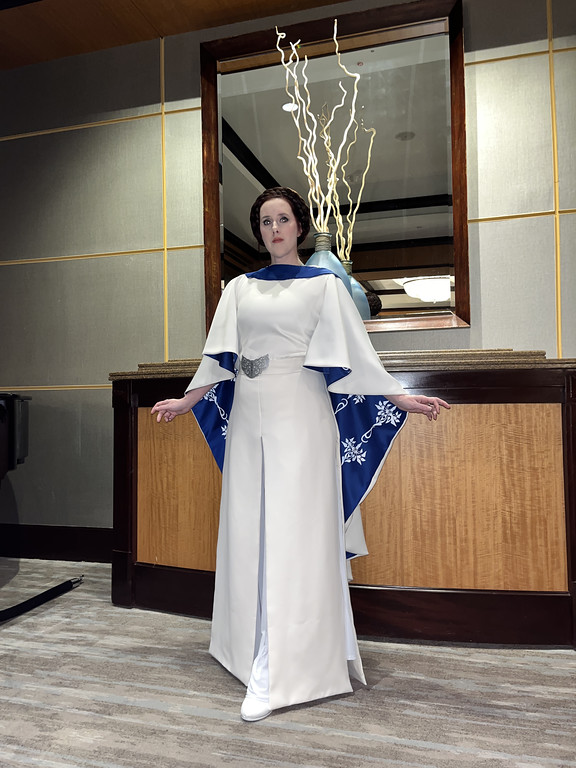
One of my favourite things about this project – all my fabric came from Joann. I love being able to use a good coupon and not having to sit around waiting on swatches to be mailed! I used a double brushed matte satin in a natural white/light cream and blue satin for the lining.
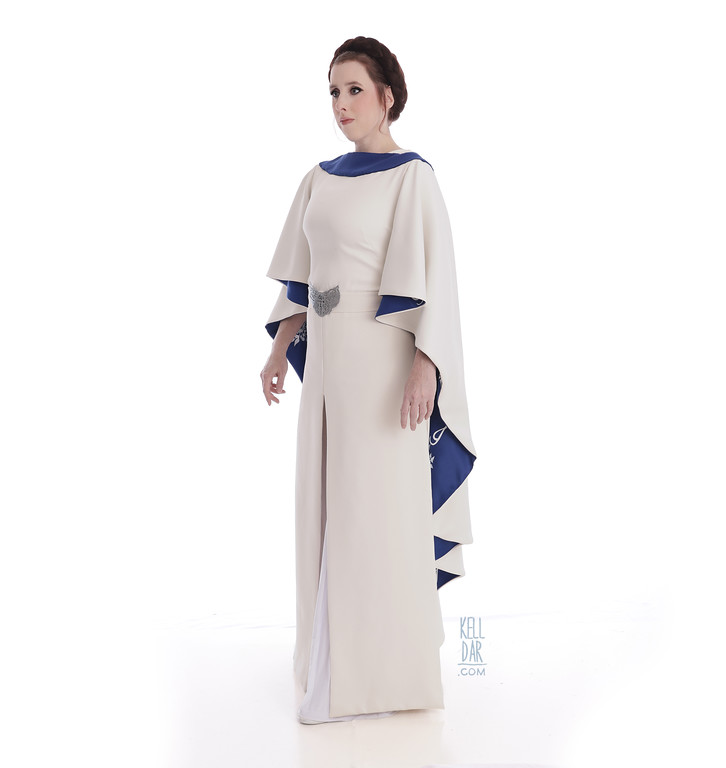
Once the top was made, I moved on to the skirt panels. They are basically just 4 rectangular pieces, curved a little bit to fit over the hips, and I did add “tabs” to where each section would join so they would join cleanly.

Originally I was going to self-line these pieces, but after putting them together, I decided it was way too heavy and bulky. So I went and got some lightweight cotton in a matching colour and used that instead. That worked much better. Each panel is lined, sewn together from the hips up, and then I sewed that onto the bodice.
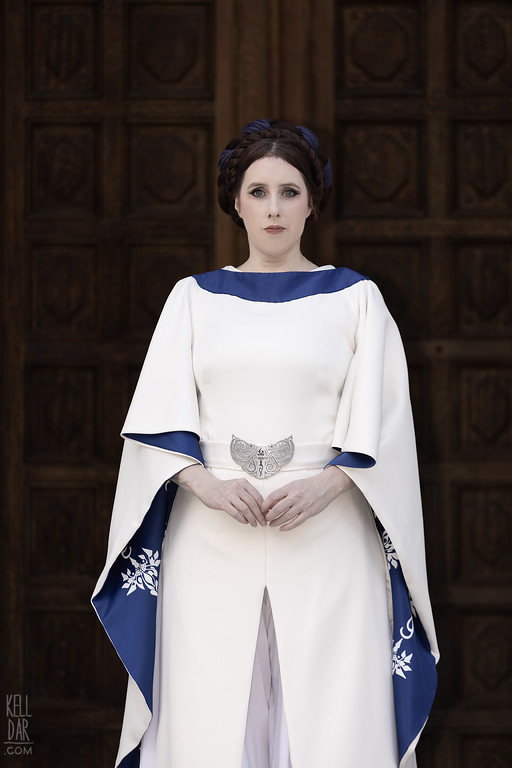
Once the bodice and skirt panels were together, I put a zipper in the back – and later on down the line once the cape was attached, I added a neckline facing, armhole facings, and finally the blue sash at the front. The sash is made of the same blue satin as the cape lining, sewn together, flipped, and then hand-sewn in place onto the dress.
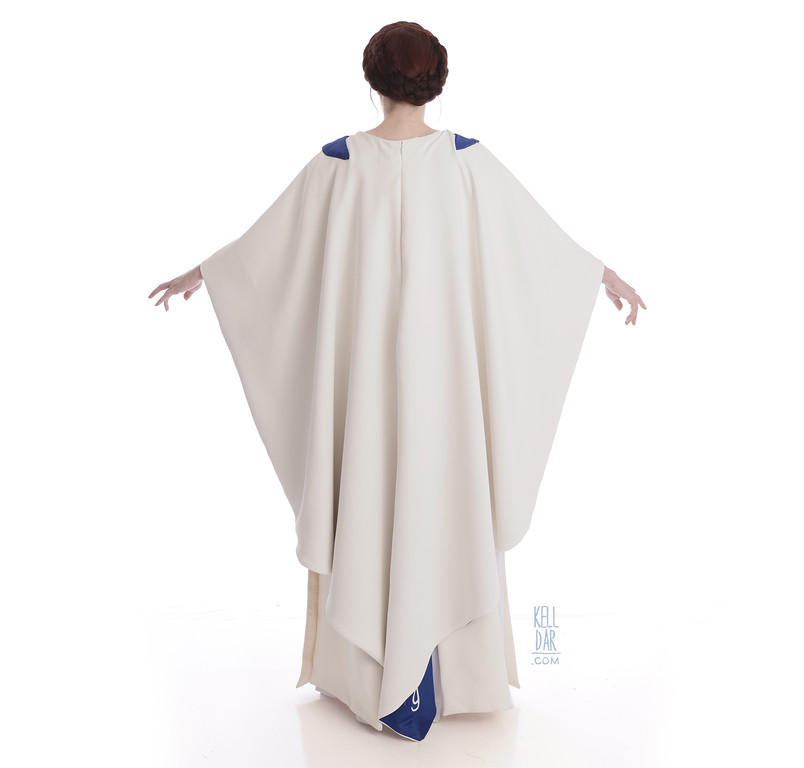
The Cape:
I expected the cape to be the difficult part to pattern, but that ended up being the bodice! I draped some scrap fabric to get the cape shape figured out – and that basic draped piece didn’t really change much from that first attempt, beyond cleaning it up and thinning it out through the bottom. So that was nice.
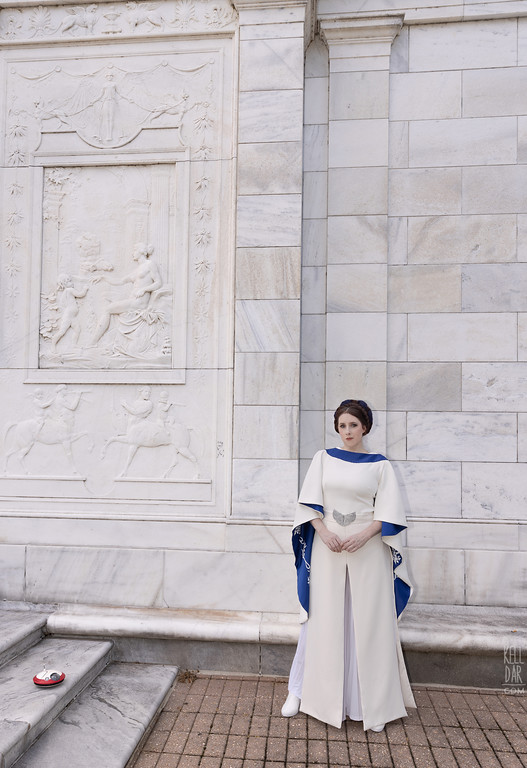
I got the outer white panel cut, sewn together at center back, and then did the same thing with the blue lining layer. I then let those sit for a while as I focused on the designs.
I drew up the design in photoshop using some behind the scenes images as a reference, plus some help from a friend who sent me their copy. I printed that out on regular printer paper to test the sizing, then started cutting them in white heat transfer vinyl on my silhouette.

They were not the easiest thing to weed – especially the smaller details, but I got into a groove as I went. What was harder was keeping up with how many I had/how many I needed of each version (standard vs mirrored), so it flips as it goes. At the end I asked Chase to run another sheet of standard… but I actually needed mirrored. So I ended up with a LOT – I used around 50 on mine, but since I ended up with more than I expected, I did mine all the way up into areas that aren’t seen, so it wasn’t really necessary.
Got them all ironed on – they’re not perfect, but unless you’re on top of it with a magnifying glass counting how many dots are in each design… I’m not sweating it. LOL
Once that was done I got the lining and outer layers sewn together, and then got it attached to the shoulder seam of the bodice. This ended up taking way longer than I expected – I got it misaligned the first time and I had to take everything apart and redo it AND redo part of the sleeve opening facings. Just getting these things sewn together and the front edge sewn in place ended up taking an entire Saturday.
But once that was done, I got a second zipper installed (yes there are 2 zippers. It’s not ideal but it works) and the neckline facing finished up.

The Accessories:
The belt is the same fabric as the dress, 2 layers sewn together and turned. I drew up the buckle design in photoshop, my husband 3d rendered it and printed it on our 3d printer. It just slides onto the belt. I also made a little matching bag that fits onto the back of the belt under the cape.
The shoes are actually my first Lothal Leia boots. I had made boot covers for them for Lothal Leia then decided they weren’t going to work and started over with new boots. But since I had these, I had the boot covers — I used them here. Got the boot covers attached, finished the top edge, and added some silver mousetail to the area between the boot cover and heel just to make it clean.
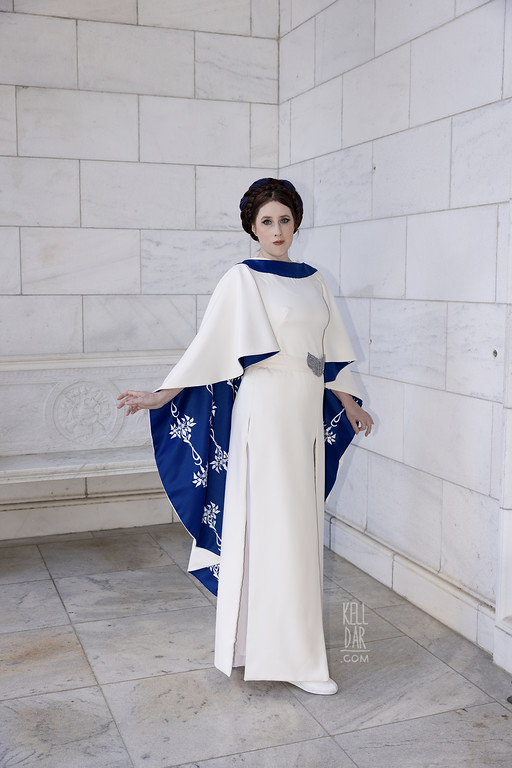
For the blue fabric twisted into the braid, I actually just used a navy blue yarn. I braided it all together just like hair and twisted it around my braid as I pinned it in my hair.
I also made a little matching bag out of leftover scrap fabric – it’s the blue satin for the cape, one of the cape designs ironed on, and it has little straps that let it fit over the back of the belt, so I can just have it attached to the back of my belt like a little hidden fanny pack, LOL.
Final Thoughts:
I am REALLY happy with how this turned out. It wasn’t the easiest to make but it was satisfying to see it come together, and it’s so fun to wear! (I also made a quick and simple version of Bail’s half-cape he wore during this scene for my husband. to wear with me at Dragoncon. I just stuck the info for that build in the portfolio page for his ROTS Bail costume.)
![]()


![]()


Please note that none of these costumes are for sale! This is my personal portfolio.