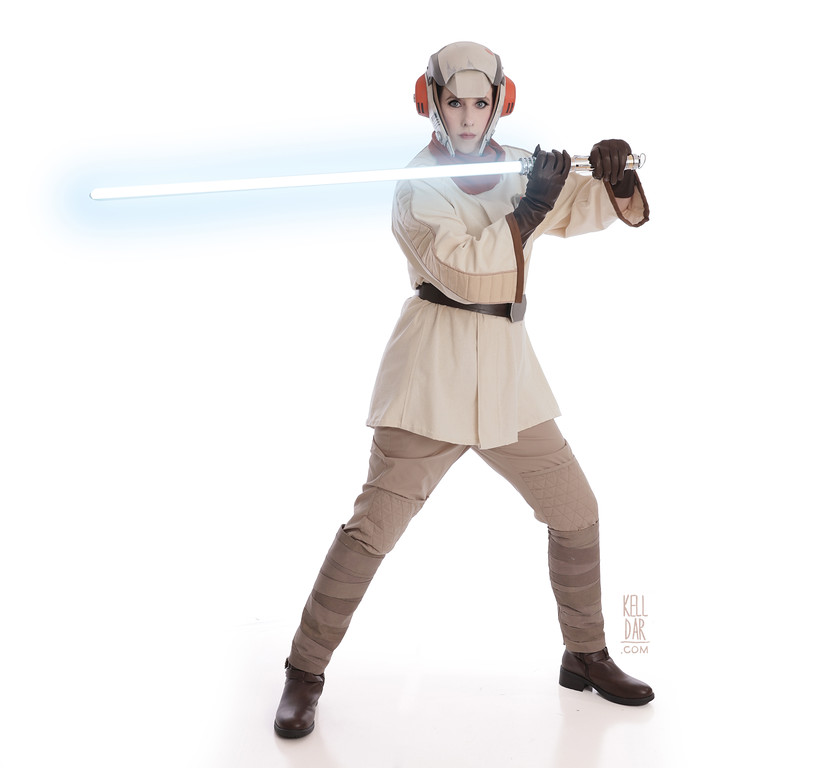
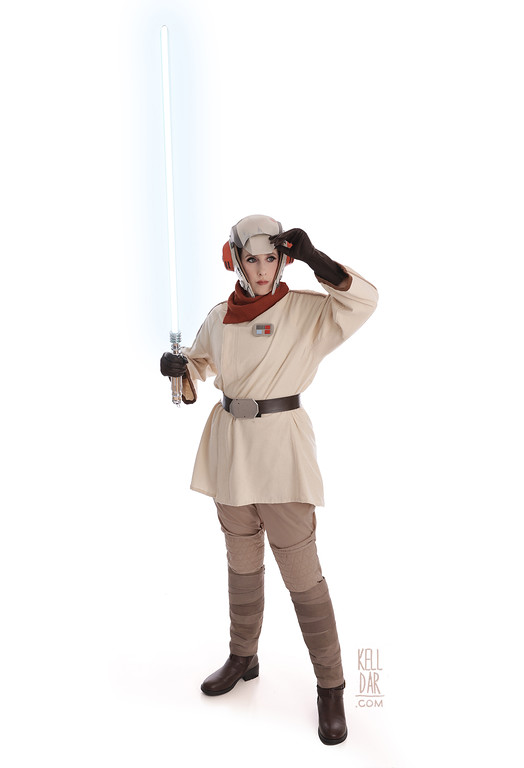
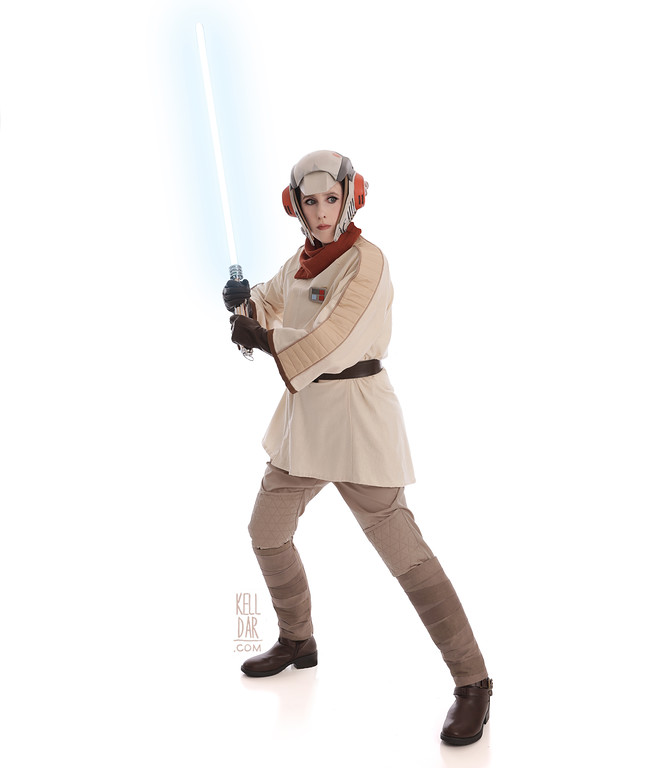
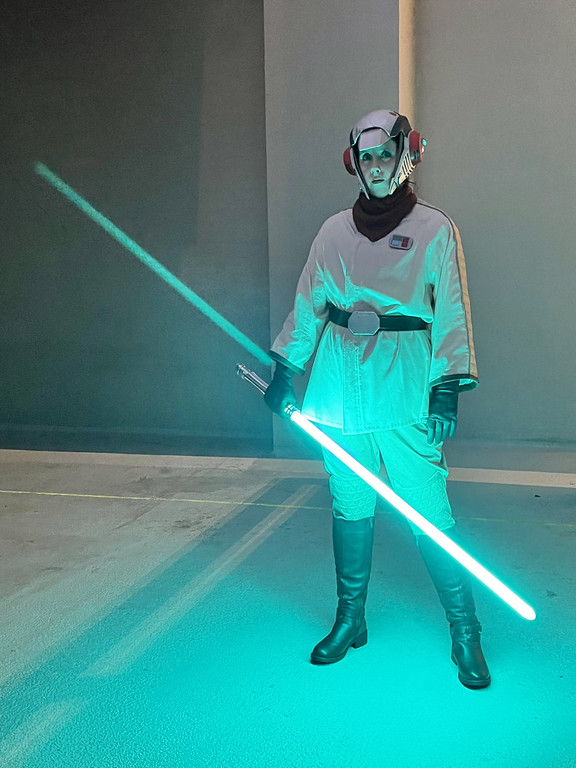
Leia – Jedi Training Outfit
Made for: Dragoncon 2023
Journal Entries: Read more at my jedi flashback leia tag
Related Costumes: Endor Leia, Boushh, Marvel Comics Leia
![]()
![]()
Patterns Used: Jen Eyre’s Tunic pattern and a KwikSew pajama pants pattern for the pants I don’t have a photo of!

Background:
Of course I wanted to do this costume. A new, in-movie canon OT era Leia costume? Hell yeah. But like I mentioned above, I hadn’t been planning on doing it this year. It was one of those “maybe next year” costumes that keeps getting shuffled around, because at the end of the day a tunic and pants is not as much fun to make as a cool dress. But then a few months ago I did a blog post about Which Leia Costumes I Still Need to Do and this costume was top of the list. So my husband just immediately started researching it and printing the helmet! He knows me so well. So with that kick in the pants, I started getting it together for Dragoncon.
The Pants:
For someone who hates making pants, I sure did pick a lot of costumes with pants for Dragoncon 2023 – Breha, Lothal Leia, Seven of Nine and now this. This one was at least the most easy of the pants. I used a Kwik Sew pajama pants pattern I’ve had FOREVER, like close to 20 years, and used lots for actual pajama pants LOL. But as I mentioned above I don’t seem to have a pic of it my gallery, so I need to get it out again and find the number and get it categorized in my folder.
Anyway, one of the things I struggled with for this costume was finding fabrics that all went together well while staying close to the actual costume. I’m not completely happy with what I ended up with, but its good enough. I got this sort of medium brown cotton at Joann to use for the pants. Got the basic pants cut out – plus pockets! – and then before sewing front and back together I made the quilted patches.

I really struggled with drawing out a guide for the quilting lines – trying to figure out how to create those perfect triangles within the horizontal lines. After a while of trying to draw a guide by hand I gave up and drew it in photoshop which was much easier LOL. Chase then cleaned it up for me and printed it out.
I taped that printed guide to our kitchen window to use as a lightbox, then took my backing piece of cotton for the quilted panel and taped that over it. Then with a ruler and some tailor’s chalk, I traced my guidelines onto it. Repeated for the other leg’s backing panel.
Pinned that backing panel to some low-loft batting panels and the upper cotton panel and sat at the sewing machine for a while, stitching over the guidelines on the backing panel. One that was done, I folded the raw edges at the top and bottom over and machine-sewed them to the front panel of the pants.
I got the pants assembled after that, and decided they were too wide and baggy, so I ended up taking them up a bit. Then once I had my boots and could try it all on, I got the excess cut off the bottom, got them hemmed, and added some elastic stirrups so they’d stay in place as I put my boots on.
The Tunic:
Thankfully Jen Eyre shared her pattern for the tunic on her site! All praise Jen!! I really didn’t deviate from her pattern at all, except where I made a dumb mistake, but we’ll get to that.

I got her pattern printed and assembled, then did a quick mock-up out of some scrap fabric. The neck opening and sleeves were too tight on me, so I modified the pattern pieces to widen the neck opening and make the sleeves wider as well.
For the tunic fabric, I decided to use raw silk, because I’ve always wanted to use that for something and this seemed like a good opportunity. Got it ordered and was hoping I could use it as-is, but it was too light, so I put it in some tan dye to darken it up.
After it was dry and ready to go, I got my pieces cut. And that’s when I realized the dumb mistake I made with the pattern. I had completely missed one of the sleeve pattern pieces – the center piece for the quilted panel. I had thought it was just a guide for cutting out that piece then sewing it on top of the sleeve! Once that was added back in, everything fit fine and my pattern modifications were not needed – but I’d already cut all my pieces with those modifications. The wider sleeves easy enough to fix, but where I had cut the neckline lower to widen it on the tunic pieces not so much. So I regrettably recut those panels, but I knew if I didn’t I wouldn’t be happy. (I was really hoping I’d have enough of this dyed raw silk leftover to make Kevin a matching Luke tunic sometime in the future, but me having to recut these pieces probably didn’t leave me enough left.)
Anyway, with all corrected pieces now cut, I started assembling. For the main panels of the tunic, they are not lined – I did consider it, both a cotton lining and a self-lining (tested out the self lining with the first set I cut), but felt like both looked too bulky. So I followed Jen’s pattern and created a facing for the front panel, also did one for the other front panel, and joined them up to the neckline facing from Jen’s pattern, so it’s all one piece. Got that sewn on and top stitched, and finished inside edges by hand (along with the hem). Also added the detail stitching.

For all of the seams on the tunic, I did a flat fell seam, both to enclose the raw edges and to create the extra line of stitching next to each seam. It was pleasing to do, I haven’t gotten to do seams like that in a long time and I forget how much I like them.
The sleeves of course took a little longer to finish since they also had a quilted panel.
Using Jen’s pattern piece I cut a backing panel out of some cotton, and drew guidelines on with chalk – I think they were an inch apart? (I’ll have to go back and measure I can’t remember now!) I got that backing piece pinned together with some low-loft batting and the outer layer of cotton (a slightly more yellow, mid-tone cotton than the pants). Then again sat at the machine and stitched over all my guidelines.
Once that was done, I added the piping. I bought some basic piping at Joann – color didn’t matter, because I covered them in some of my leftover brown cotton from the pants. Got the piping covered and sewn onto the edge of each quilted panel.
I pinned that into my sleeve… and decided it was too wide. I had to take the piping off, trim off some excess from the side of each panel, and then reattach the piping.
Finally happy with that I got the sleeves assembled. While I didn’t line the body of the tunic, I did line the sleeves in some light tan cotton just so they’d support the quilted panel ok. When I assembled these, I left off the original raw silk center panel – instead, I finished the edges on that piece and then hand-sewed in place on the inside, covering up the raw edges of the quilted panel/sleeve seams. Then finished sewing up the sleeves, got them attached, and then I trimmed the edge of the sleeves in some dark brown cotton I had leftover from something else (it’s either from Chase’s chip jacket or his Luke poncho, not sure which!)

Last things I did was some closures – I decided to just use some small, hidden snaps. There’s 2 at the neckline and 4 done the front of the tunic under the flap.
The Boots::
So yeaaars ago I found these flat brown suede boots that were the perfect shape/fabric type for Leia stuff – very similar to Huttslayer and Boushh – so I got them and stored them away hoping they’d come in handy for a Leia costume in the future. Well I almost used them for wedding Leia – but they were too dark brown. But when I decided to do this, I thought these were perfect! I was finally going to use the boots!
I went to try them on with my pants, and……. could not get my foot into them. Completely confused I sat down and looked at them. Yall I bought 6s instead of 7s. OMG. So I guess I’ll be reselling these but I was SO SAD because I saved these for so long!!
So I had to hop online and shop for new boots. I don’t LOVE what I got and may replace them in the future – but they were cheap and good enough for now. (reasons I don’t love them – straps/buckles at the ankle, too big through the calf and… fur lined. Maybe nice for winter but not for dragoncon LOL)
But once I had the boots in hand I could work on my leg wraps. Yall I have spent the last 17 years going on a JOURNEY with Luke Skywalker leg wraps and how to make them be convention friendly for Kevin and then for Chase – and I feel like these boot wraps are the culmination of my journey LOL I may have to do a separate blog post about all of the ways we’ve done Luke leg wraps because it’s not really relevant here. But in the most recent years, I made basically boot covers with the fabric strips sewn on, first for Kevin’s farmboy Luke, and then last year I improved on that idea for Chase’s TLJ Luke.
So I took that same concept and used it for mine because I sure as hell wasn’t sitting and wrapping fabric strips around my legs at the con. I started out with a base of some stiff canvas fabric I had in my stash, and got that sized to fit tightly over my boots. Finished the edges just so I didn’t have to deal with them later.

For the fabric strips, I took the cotton I had used for the quilted panels on the sleeves and dyed it. And dyed it again. And again. And everytime I did end up with something darker, which is what I wanted, but everything had a tint to it that threw it off from the whole colour scheme. Like it would be too green, too purple, too yellow, and I kept trying to colour correct for that. Finally I just put the fabric in some dye remover to start over and dyed it again and… it came out kind of a mess, but I liked the mess. The multiple dyeings, the remover and more dyeings had made the fabric look really rough, with a lot of different tones and some areas lighter and some darker. I thought it looked pretty cool so I went with it. I would like it to be a hair darker but at that point, I wasn’t going to keep messing with it.
I got the fabric cut into strips and sewed them onto my canvas bases – I would machine sew the top edge, then trap the bottom edge under the top of the next strip, so there wouldn’t be any visible stitching. For the strips going diagonal, I did something similar – maching sewed it at the top, but then folded it over and finished it by hand.
Once that was done, I added some separating zippers to the back. I previously used velcro for the boys’ Luke costumes, but didn’t like the folded over bulk of that, so I went with zippers for mine.
The Accessories:
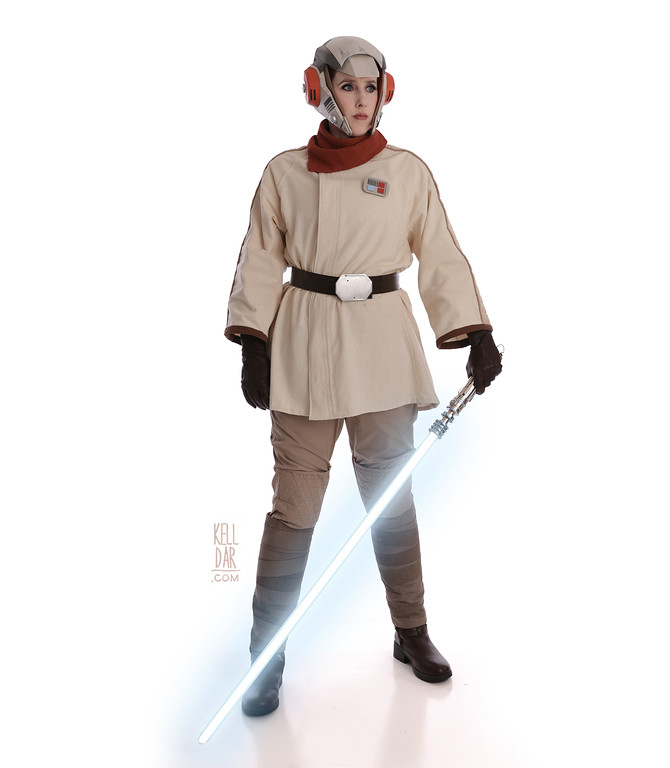
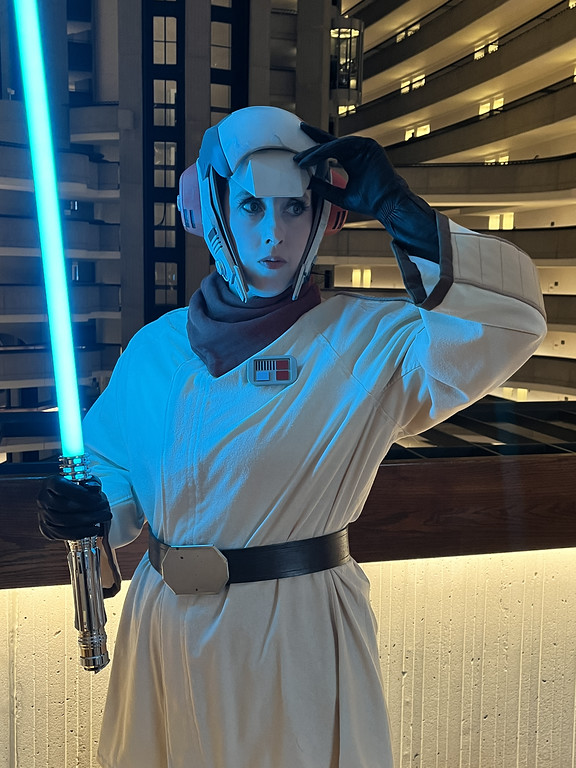
My helmet is from a 3d file from thingiverse – Chase printed this on our resin printer, assembled and painted it. All I did was pick out colours and try it on a few times LOL

My neck kerchief I made – I just grabbed this fabric at Joann, because I liked the colour and the sort of rough-spun look of it. Got it home and started to work with it and discovered what I thought was 2 layers stuck together was just one – this fabric is incredibly thick! AND incredibly messy. It frayed EVERYWHERE. Even after sewing it all closed and finished I was still finding places where frayed edges were sticking out and had to trim them, and tiny pieces of it ended up on EVERYTHING. But I basically made a square, folded it over, sewed it in place, and then added some snaps on the back. I feel like it MAY be too tall on my neck, so I may have to do something about that in the future – but hopefully that won’t include having to take this apart. I may just fold it over and stitch it down LOL
My badge Chase 3d modeled and printed, and I painted it. Did the black stripes on the silhouette with vinyl.
My gloves I bought on etsy – they are vintage 70s and came with the original tag! I decided not to make any modifications to them – I like them too much as is!
My belt is from Tandy. Cut it down to fit (and the excess became part of my Lothal Leia belt), and Chase carved the details lines into it for me. Then I painted it brown and — as of this writing (8/16) I haven’t put a closure on it, but my plan is velcro underneath the buckle.
Speaking of the buckle, I had to go back to the master of star wars buckles… my dad LOL He’s made all of the conchos for my various Leia belts plus my Imperial Officer belt, so I asked him to make this one too.
Finally my lightsaber is from…. I don’t know. I’ll have to ask Chase, he ordered it LOL
![]()


![]()


Please note that none of these costumes are for sale! This is my personal portfolio.