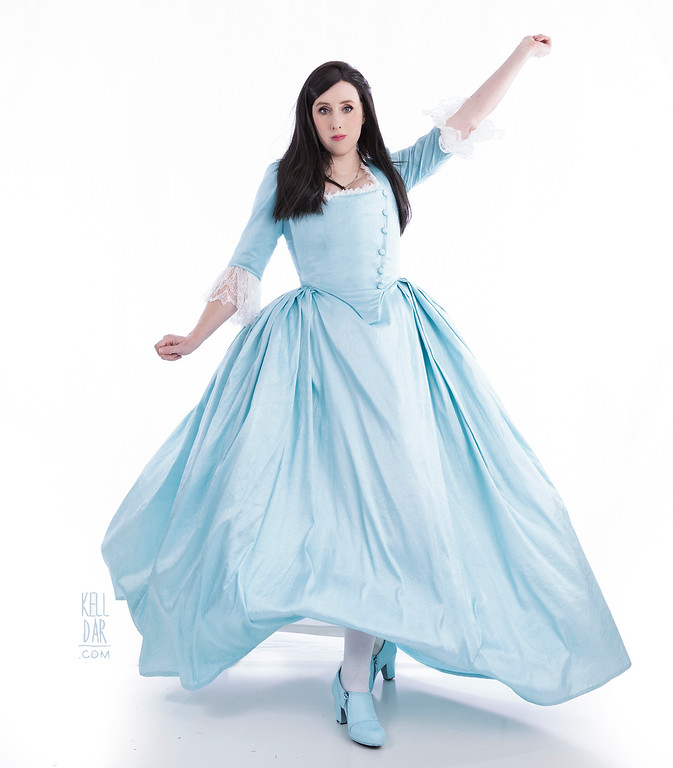
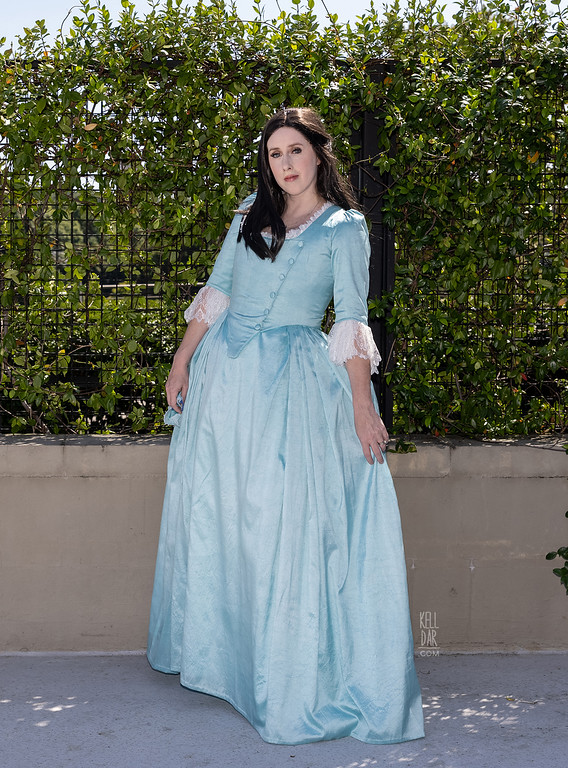
Eliza Schulyer
Source: Hamilton
Made for: Nothing 2020
Journal Entries: Read more at my eliza tag
Related Costumes: 18th Century Pink Gown, 18th Century Blue Gown, 18th Century Green Gown
![]()

![]()
Patterns Used: JP Ryan’s Robe à l’Anglaise pattern (dress), Simplicity 8162 (bum pad and chemise)

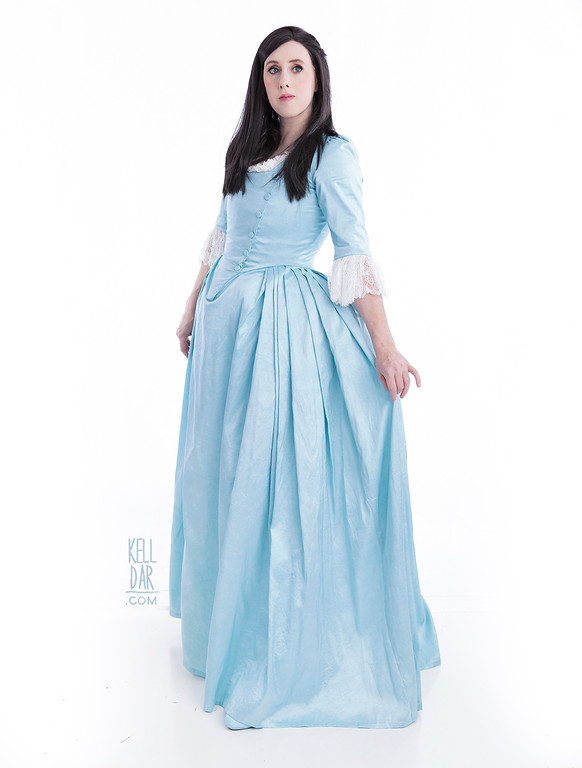
Fabric:
A friend of mine gave me 6 panels of silk curtains! At first I was dubious they were 100% silk, and even if they were, they probably had some sort of fabric protection applied that would prevent them from being dyed. But they were 100% silk and took to the dye nicely! The loops for the curtain rods proved to be very handy for cutting off and using for dye tests. Once I determined they were dye-able, I disassembled all 6 curtains – each had a cotton lining, a felt interior and then the silk outer layer. I also made use of the cotton lining. After messing around with the panels a bit on my dressform I determined I only needed 3 panels for Eliza, so I put the other 3 curtain pieces away for later projects.
Dyeing:
Dyeing these wasn’t too difficult – just scary. Thankfully RIT’s teal dye was pretty perfect on its own and I didn’t have to mix anything to get a good colour. I dyed part of one of the cotton lining first so I could use it as a lining for the bodice (though it turned out more “sky” blue than the delicate teal I wanted).
I did my dye tests in warm water, so that’s what I used to dye the actual panels – I heated up water in all my large pots on the stove and dumped them in a bin on my patio. They were warm to the point it was uncomfortable to put my hands in it for very long but not impossible. I wet the silk panels beforehand, then put them in the bin one at a time, moving them around with my hands to make sure there were no folds. I probably kept them in each just over a minute, then I took the panel inside, rinsed it off with cold water in the sink, and hung it to dry. Repeat with the other 2 panels.

I wanted them to dry outside as much as possible so I hung them up on my garment rack (been in our house 2 years and I still haven’t installed my clothes line for drying fabric). However after about an hour it started to cloud over and get windy, so I brought them in and put them in the dryer on the lowest setting, lowest tumble and they were totally dry in about 20 minutes. After ironing they looked beautiful! I was really happy with how the colour turned out.
Underthings:
I’m once again reusing my stays from 2015, though I intend to make new stays in 2021… I know I can do a better job of it now.
But I did make a few new things for this – using the Simplicity pattern above, I made a chemise and bum pad, and without a pattern, I made a petticoat. All 3 with leftover fabric and the cotton lining from the curtains.
The chemise is straight off the Simplicity pattern, no changes except I eliminated the ruffles and put elastic in the hem of the sleeves. I need to wash it a few more times and soften it up a bit.
The bum pad is also straight off the Simplicity pattern, only change is I cut it a little bit bigger than the pattern (adding like a half inch all around). I used some scrap fabric for the main part and the cotton lining for the ruffle, leftover ribbon for the tie and I have a ton of batting for some reason, so I used that for the stuffing. When I got it close to being done and tried on with everything, I realized cutting it a little too big had made it not fit my waist great (it sagged), so I ended up doing a small gathering stitch at the closure seam that sits against my lower back and that helped make it fit much better.

The petticoat I made by taking 1 and a half panels of the curtain lining, pleating them around my dressform, sewing those pleats in place and then sewing bias tape on the top as a waistband. Once the actual dress was done, I hemmed the petticoat to be a bit shorter. It has a hook and eye closure.
Dress:
I decided the JP Ryan pattern I used for Belle last year would be good starting place – it was an easy-to-work with pattern without a lot of moving parts so I thought it’d be pretty easy to modify.
The stage costume has a lace up back, and since this pattern has a center back seam, that makes things easy enough there. The hard part was modifying the front. I traced the pattern piece for the front panels onto newsprint and extended it into the “crossover” shape – I did a quick mockup with that piece to see how it looked, made some changes to my paper pattern based on that. Then did a slightly more indepth mockup – made more changes based on that mock-up, and finally did one more “nearly finished” mock-up to test the fit. This one was very close, I just tweaked the shape of the neckline and lower center point and at that point I felt confident enough to move onto the real fabric.
I ended up with a front right panel (which includes the crossover section) and a front left panel (which is very close to original JP Ryan pattern, just tweaked for the lower center point and neckline shape).
Pattern ready to go, it was time to start the actual dress. I started with the lining layer of the bodice, which was one layer of left-over teal fabric from my Dr Crusher jacket and one layer of the dyed cotton lining fabric. On the fly I decided to NOT do the crossover on the lining layer. It wasn’t necessary – the front will not ever actually open because of the lace-up back, so I decided I didn’t want the bulk of having all of the layers crossover, plus figuring out where to install the boning. I ended up just using my “left front” pattern piece for both sides with a center seam.

Once I had the lining pieces cut, I based them together and then sewed in my boning channels. I used spiral steel boning and did a channel on either side of the center seam (so 2 next to each other), and then did 2 channels along the back seams. (I moved these a bit further from center back than where the JP Ryan pattern calls for them to sit, to facilitate needing room for the eyelets).
Once the lining layer was finished I started on the outer layer. Outer layer was originally just going to be 2 layers – one of the leftover Crusher fabric and one of the silk. I expected the Crusher fabric would help give the silk enough body to look right, but unfortunately it was not enough, the silk was just too thin, so I ended up added a lightweight fusible interfacing to the back of each silk panel. It helped a lot.
I also cut a facing panel for the crossover – just used the same shape from the front of the right “crossover” side of the pattern. I basted the facing in place to make sure it looked right, then sewed it down with the machine. Then I sewed the right side to the left side (using the lining panel as a guide to make sure I had them lined up correctly) and the outer layer was done.
Sewing to the outer layer to the lining layer was the scariest part (besides dyeing). I very careful basted the lower edges together, carefully flipped it to make sure that that front point and the bottom of the crossover looked right. It did, so I finished it on the machine. Then I did the same with the upper edges, again making sure that the crossover was laying right. Once I had both the upper edges and lower edges sewn together, I flipped it right side out and… whew! It turned out pretty perfect.

Once that was finished, I finished the shoulder seams, and then closed the back openings. And then breathed a sigh of relief LOL.
For the buttons, I picked up a button kit at Joann. For all the times I’ve bought button forms I’ve never actually used them for their intended purpose LMAO. But I was pleased by how easy it was to make the matching buttons using the kit. I could’ve made 100 buttons and been excited every time I finished one LOL. I got the buttons sewn in place on the front crossover edge.
The sleeves are the “view a” sleeves from the JP Ryan pattern. Also one layer of silk and one layer of the leftover Crusher fabric. For the sleeve and neckline ruffles, I bought some lace fabric at Joann. It had a nice motif to it that would make it easy to trim away excess and leave me with a nice “scalloped” edge. I cut out long rectangles for the sleeves, then sat and trimmed away the excess to create the shape. Then gathered the top edge, sewed it onto a ribbon, and then sewed that ribbon into the sleeve lining.
Repeated the process for the neckline ruffle – it’s 4 long strips sewn together, trimmed to make the scalloped shape, then gathered onto a ribbon. Then I sewed the ribbon onto the bodice lining.
Last part for the bodice was the eyelets. I normally do grommets because I hate eyelets, but pics of the back of the costume clearly showed very small eyelets. So I decided to give eyelets another try. I got them all marked out and started hammering them in and was immediately seeing them pulling out and away from the dress. Ugh. My husband brought a bigger hammer and small anvil up to my sewing room and got them all set in for me, he said it looked like I just wasn’t hitting them hard and fast enough. Once he had them all in I tested lacing it up on my form (I only had one corset lacing thin enough to fit through the eyelets and it’s a mile long so it takes forever to lace up) and when I did that, about 3 of them came loose from the lacing having to be forced through the eyelet. Ugh.

So I pulled out my embroidery box, found some embroidery floss that thankfully matched my fabric really well, and bound each eyelet in embroidery floss to keep it in place. It made the eyelets even smaller but I think they’re pretty sturdy now.
I also made a modesty panel to sit under the back lacing.
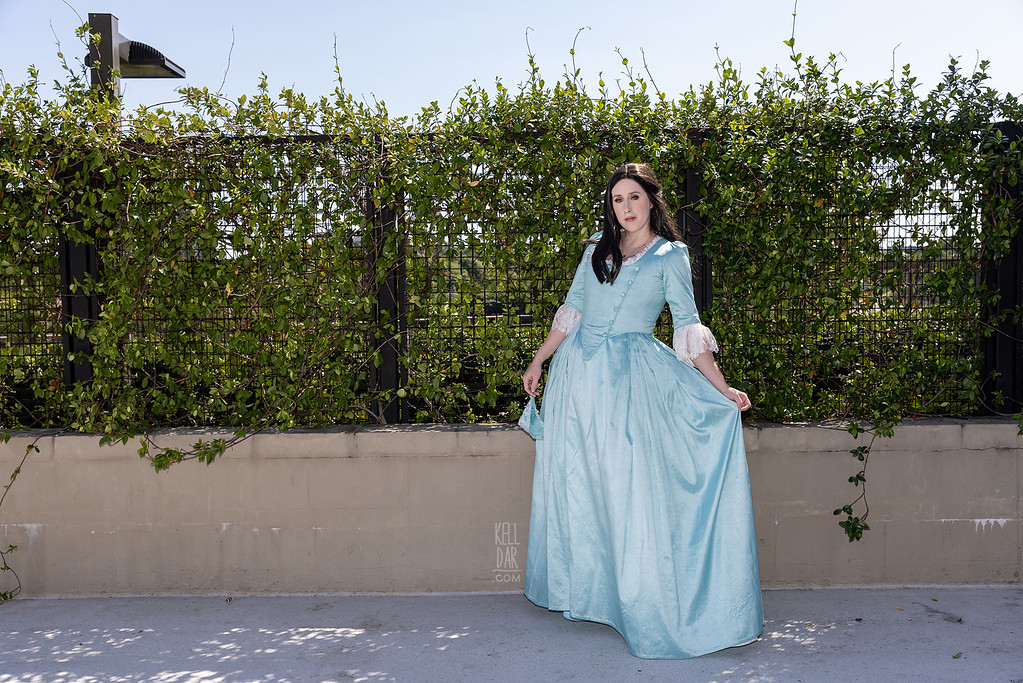
Finally we make it to the skirt. The skirt is made of 2 of the curtain panels with the upper section with the loops cut off. I sewed them together (french seams because I’m trying to avoid any raw edges with this silk), and then pleated them to fit into the bodice. I cut an opening for the center back to install a short invisible zipper, and then stitched the skirt panels into the lining of the bodice. It looked great! I was really happy at this point and all that was left to hem it.
But I left it for a day like that and as I thought about it, I decided I didn’t really want the skirt sewn into the bodice. I decided it would work better as a two piece – mostly because having to work around the modesty panel AND the sewn-in skirt edges while lacing up the bodice just seemed really annoying. So I cut the skirt out of the bodice, sewed the pleats down, sewed my left-over bias tape from the petticoat waistband around the top, and then finished it off with a waistband made from the silk to cover up the bias tape. I was pretty happy with the finished result. To keep the skirt sitting at the right place, I sewed snaps into the bodice lining and onto the waistband of the skirt, so I could snap them in place. That way it’s still “attached” to the bodice but it’s not sewn on and in the way of the lacing on the back.
Last thing I did was to cut the excess away from the skirt hem, pin the hem up and finish it by hand. And then I hemmed the petticoat.
Overall really happy with how it turned out and it was a surprisingly quick build – from dyeing the fabric to finished costume was only about 2 weeks.
Shoes:
I picked a pair of shoes at the secondhand store that I liked the shape of. Painted them w/Angelus Leather Paint and sealed them. Unfortunately they must have had some kind of protective sealant on them in the first place because after one wearing at Dragoncon 2021, they cracked like crazy. I haven’t fixed them yet.
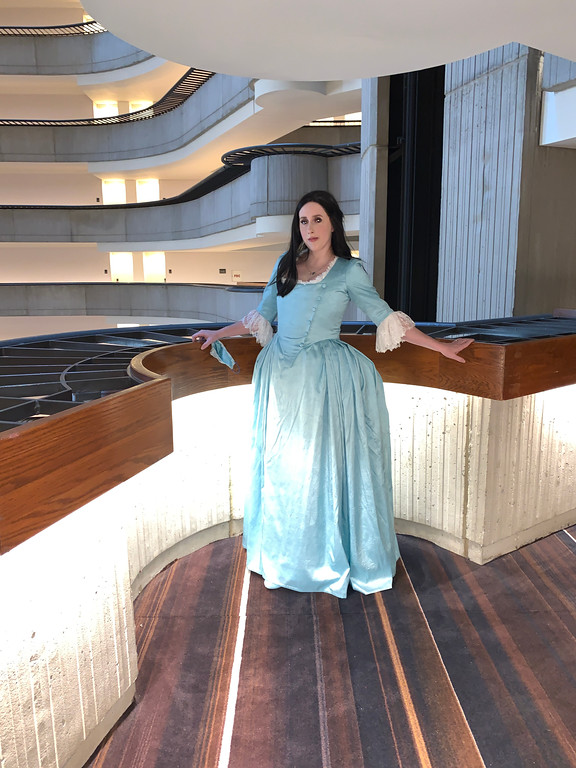
History: I did take this to Dragoncon in 2021, but haven’t worn it since. Really thinking about selling it because I don’t have a strong connection with the costume.
![]()


![]()


Please note that none of these costumes are for sale! This is my personal portfolio.