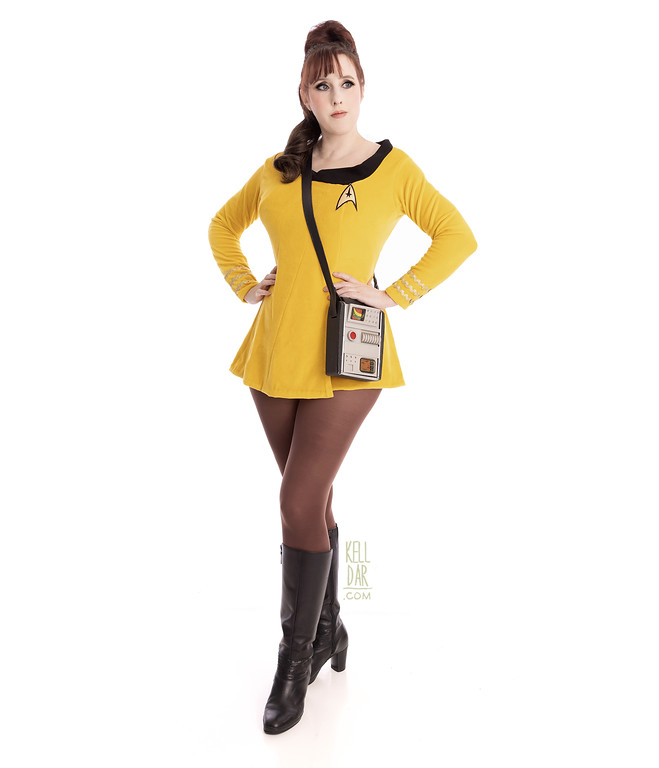
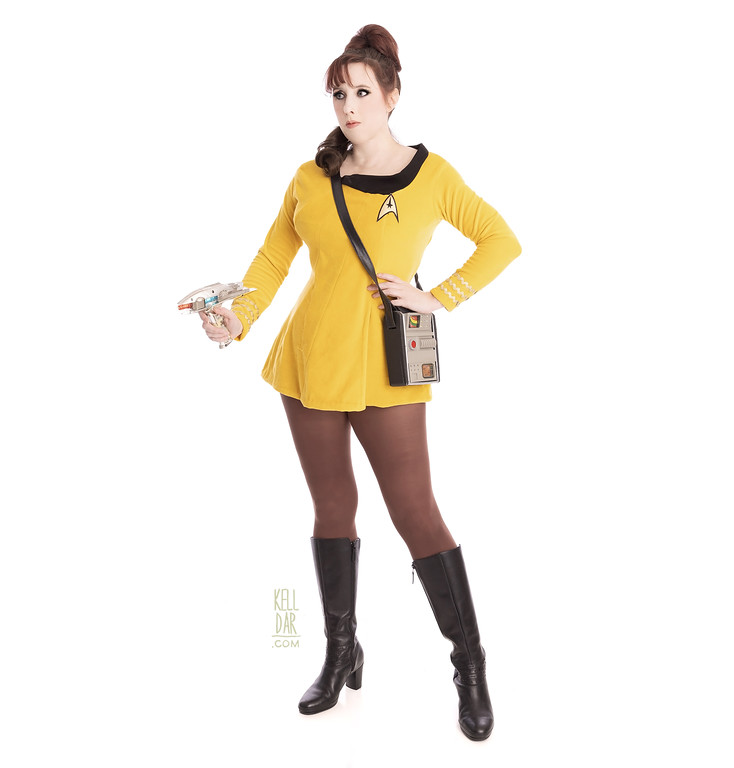
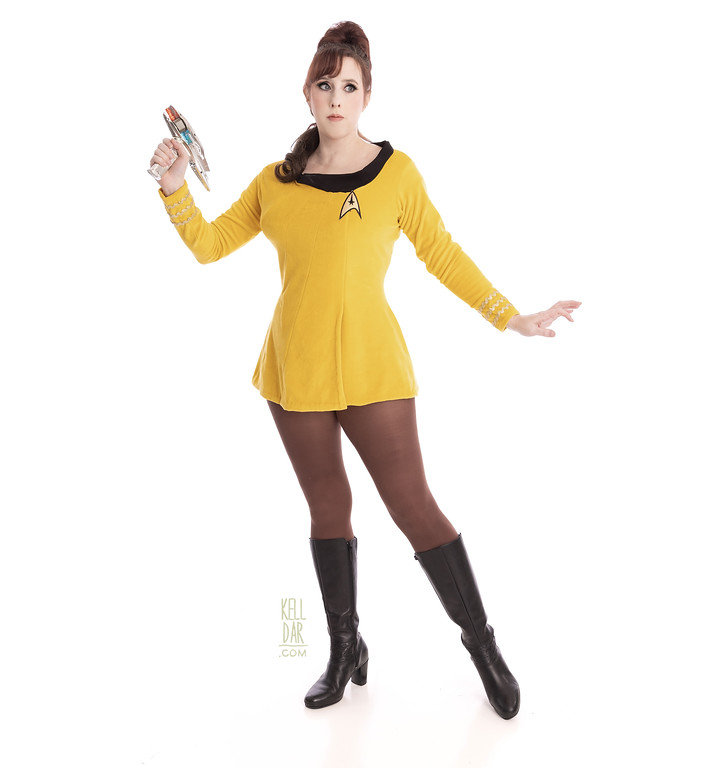
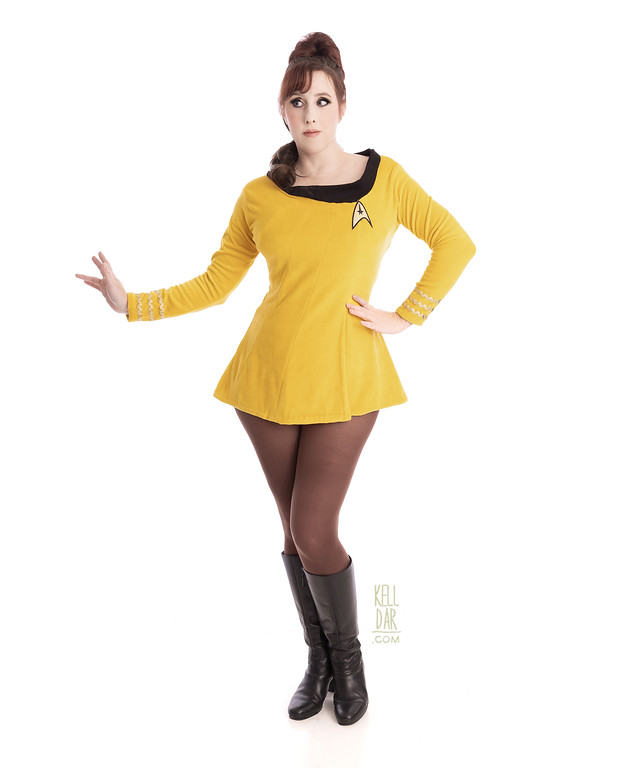
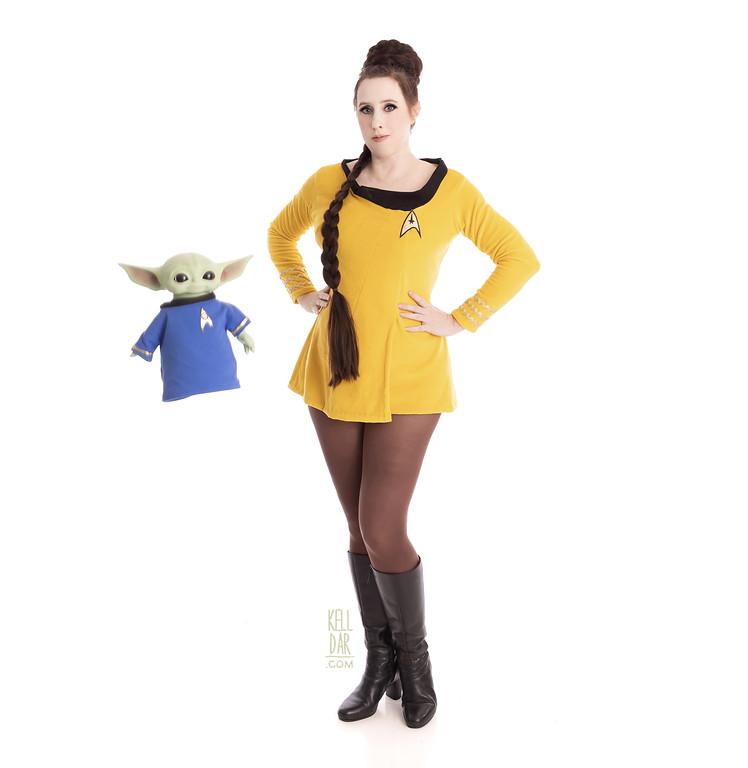
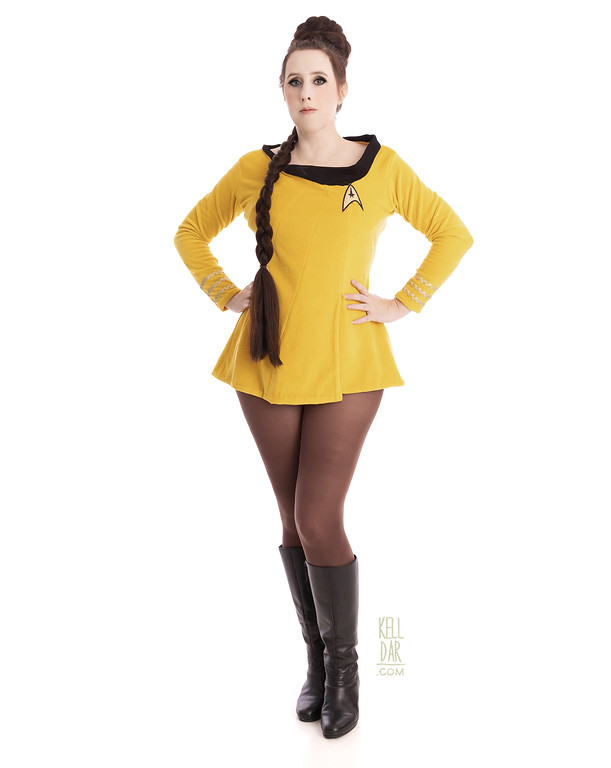
Command Skant
Source: Star Trek TOS
Made for: Huntsville Comic and Pop Culture Expo 2023
Journal Entries: Read more at my star trek skant tag
Related Costumes: Seven of Nine, T’Lyn, Dr. Crusher
![]()

![]()
Patterns Used: (see below)

Background:
So back in 2019, myself, my parents, Ash and her mom were all planning to go to a convention together in 2020. First time in ages. We were all really excited! Of course it didn’t happen.
But in the planning for that, before plans changed, my godmom had wanted a TOS skant for the convention. She found a pattern online and bought it, and asked if I’d take a look at it.
So once everything came to a halt in 2020 I got that pattern out and decided to play with it. Well the reason the pattern isn’t linked above is because I did not like this pattern. I did make a mock-up from it, and then I took the pattern pieces, completely redrew new ones with alterations and notes added, and also completely rewrote the instructions. So it would all be ready to go when it was time to make this for my godmom.
Well that time still hasn’t come, but I decided to get it out and make a quick skant for myself for Huntsville Comic Expo this year. I thought it would be a fun quick little project which is what i needed after the 6 month odyssey of wedding Leia.
The Dress:

I really wanted to do the velour look instead of the knit look, so I looked around for a cotton velour I could use. And at the beginning I wasn’t sure what division colour I wanted to do, so I was looking for everything. I came across a cotton velour in the color “Dijon” and thought it looked pretty great for a command colour.
BUT ordering a swatch – just a SWATCH! – was $10! The fabric itself was only $9/yard so I said forget that and just bought 2 yards sight-unseen. I figured if it didn’t work, I’d put it in the stash and use it for something else down the road.
It arrived and it was a little brighter/more saturated than would’ve been accurate – but I did REALLY like it.
I did think about dyeing it – just the tiniest bit of dye to shift the tone, kinda kill some of the warmer tones in it. Experimented with some little cut off segments, putting it in some teal dye I had. And it dyed HORRIBLY. I couldn’t understand it, it’s cotton?
Then when I actually went to cut the fabric, I realized it had way more stretch than I anticipated. Then it clicked in my head… went back to look at the site and sure enough, it’s not 100% cotton, it was 75%/25% poly. So that explains the weird dye outcomes.
So I just left as-is because I did really like it anyway.
So I got the reworked pattern from 2020 out and re-familiarized myself with it. Got everything cut out and assembled.

Seemed pretty straight-forward at that point, but the dress ended up being a little (a lot) too big and I spent a good chunk of time taking it up.
Got the sleeves on and a zipper in the back, and then it was time for the collar. The original pattern had no pattern piece for this, just instructed you to cut a piece of black fabric the length of the neckline and sew it on. I hadn’t fully fleshed this out in the mock-up, so now it was time to truly put it to the test.
I had some heavy black knit leftover from Scarlet Witch so that’s what I used. I cut out 2 strips long enough to fit the neckline, sewed them together (length-wise so the seam was at the top) and sewed it onto the neckline. It looked ok on the dressform, so I finished the inside by hand.
Then I tried it on and hated it. It sat really weird and didn’t look accurate. So I took that off and back to the drawing board.
Got my patterning paper out and drew up a new pattern piece, wider at the front left and thinner at the back. Just pinned the paper piece onto my dressform behind the dress and got the shape and length worked in.
Then recut the black knit using that pattern piece. This worked MUCH better, looked better – except where it met at the back at the zipper. I was having a hard time (on both the first version and this version) making it meet the zipper neatly.
I was thinking about what to do and thought… why do I even have a zipper? I can easily take it off and on over my head.

So I took the zipper out, sewed up the back seam and just joined the ends of the collar together. Looked much nicer.
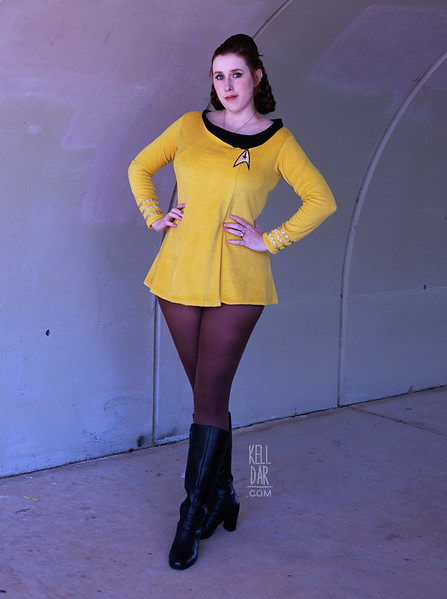
Added the rick-rack on the sleeves and a patch from etsy to the front. Tacked down the interior flaps on the front and back – at this point all that was left was the hem.
It was way too long, and it didn’t hang the same on me as it did the dressform, so I had my mom come over and pin it for me. I cut off the excess and hemmed it by hand – but when I was done it was a bit wonky and too short in the back. I think when I repinned after cutting the excess off I didn’t get it quite right. So I undid the hem – thankfully had enough rolled up in the hem in the back to let it out – and fixed the wonky areas. It may still not be perfect but it’ll do.
Towards the end of this, when I thought I was done, I was trying it on with my new tights and realized the sleeve openings were not sitting in the right place and were way too big. So I ended up taking the sleeves off, trimming off some of the sleeve openings on the dress and also taking up the sleeves through the upper arm, and putting it back together. Looked a lot better after that.
The Under-Things:
I REAALLLY wanted to have that exaggerated 60s silhouette in this but I also REEAALLLY didn’t want to make a bra and corset and all that.

So I decided to take the risk and buy a vintage-style long-line bullet bra and waist cincher online. It’s a risk because I have really weird measurements and I spent quite a bit on these. But looking at their measurements guides it seemed like it might be pretty close to fitting, maybe needed a little bit of tweaking.
Well that wasn’t the case. The bra cups only fit about half of a boob in each. Otherwise it fit beautifully. And the cincher was too big and basically no cinching.
So that’s actually where I spent the most time on this project – trying to make that bra fit. I got my seam ripper out and opened it up, removed the existing cups, and started experimenting with making new ones. Started with copying the shape of the cups I removed, just bigger – that didn’t work. Got out some patterns I had with cups and tried those. I probably made at least 10 different iterations of bra cups trying to get the shape dialed in. Finally got to something that A) still fit the opening on the bra structure, B) fit my chest and C) didn’t look weird and lumpy along the center seam line.
The shape wasn’t quite as “bullet” as I wanted but it was more “bullet-y” than any of my existing bras, so I’ll take it. I did also buy some bullet bra pads on etsy that I added on – I think they help a little.
As for the waist cincher, I ended up just folding it over at the center back and sewing it to itself to take it up about 2 inches. It’s not pretty but who is gonna see it? Nobody. It works slightly better now.

And for the last “under-thing” I did not want to make a matching pair of briefs out of velour. So I bought a pair of yellow swimsuit bottoms online. When they arrived they were a much more “true” sunshine yellow than the fabric of my dress, so I threw them in with some red and brown dye and got the colour match pretty close.
Etc:
Sadly my basic black knee-high boots I’ve used with my costumes since 2004 have died. BOTH of the soles have cracked and split. So I had to search for new boots for this.
Dug around for a while and found a pair of used Clarks on ebay. Got them and absolutely love them — super comfy, a great shape, and the inside lining is cute!
Besides that I also bought brown dance tights to wear with it.
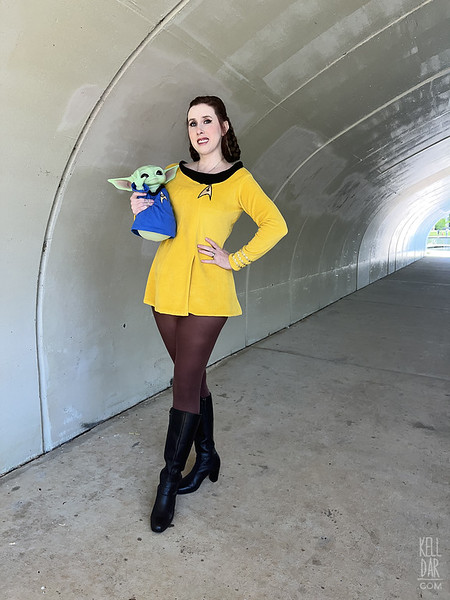
For Dragoncon 2023 I reaaaaaally wanted a bag to carry with this and I really wanted a bag that looked like a tricorder. Unfortunately couldn’t find any readily available to buy… so my husband found a 3d print file for one on thingiverse, modified it and printed and assembled for me. Once he was done assembled, I created an interior bag of felt that fit inside it (just for padding), with a faux leather top closure with a magnet. Added the strap, and some rhinestones in place of buttons on the front, and it was done and I’m in love with it!
Final Thought:
I’m considering this version 1 – because I do also at least want to make a blue one in the future and I’ll be tweaking the pattern further when I do!
![]()


 <
< 


![]()


Please note that none of these costumes are for sale! This is my personal portfolio.