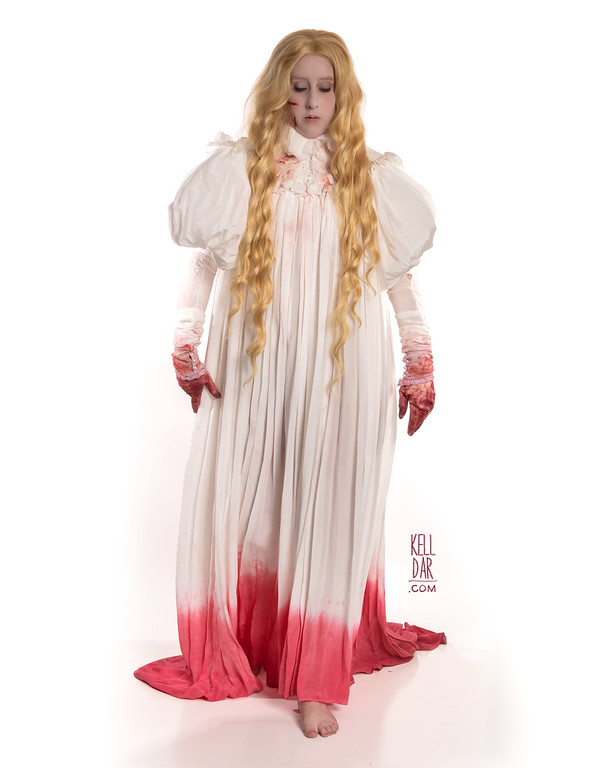
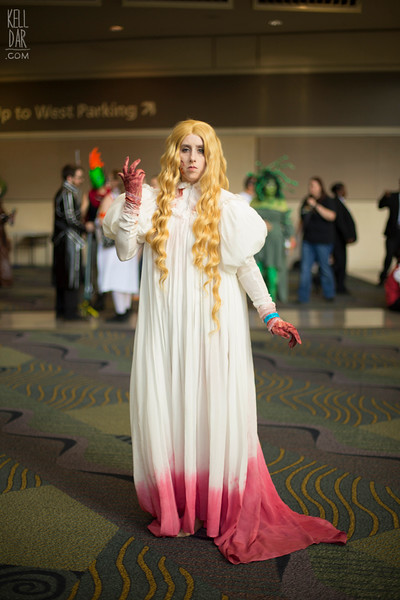
Edith Cushing
Source: Crimson Peak
Made for: Megacon 2016
Journal Entries: Read more at my Edith tag
Related Costumes: Tinkerbell
![]()


![]()
 Patterns Used:
Simplicity 4156 (sleeves), Butterick 5970 (yoke base)
Nightgown:
I put this project off for months; I was initially going to do it for MidSouthCon in 2016, but decided to do Disgust instead, and pushed Edith back to Megacon. I didn’t get a start on it til late April!
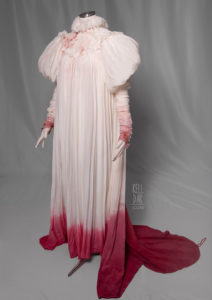
I decided to use a silk crepe de chine for the nightgown, with a white cotton as a base for the yoke. I started out by using the yoke/collar segment of Butterick 5970 – I used this as the base to build the rest of the costume off of. Next up, I used the sleeve pattern for Simplicity 4156 for the upper and lower sleeves. The pattern for the upper sleeve called for a second layer of netting to help the sleeve stand out, so I followed those instructions and was pretty happy with the result. I changed the lower sleeve a bit, making them longer, and I ran a gathering stitch up each seam to keep them the length they needed to be. I bought some lace at Joanns for the edging, and added the pearl buttons.
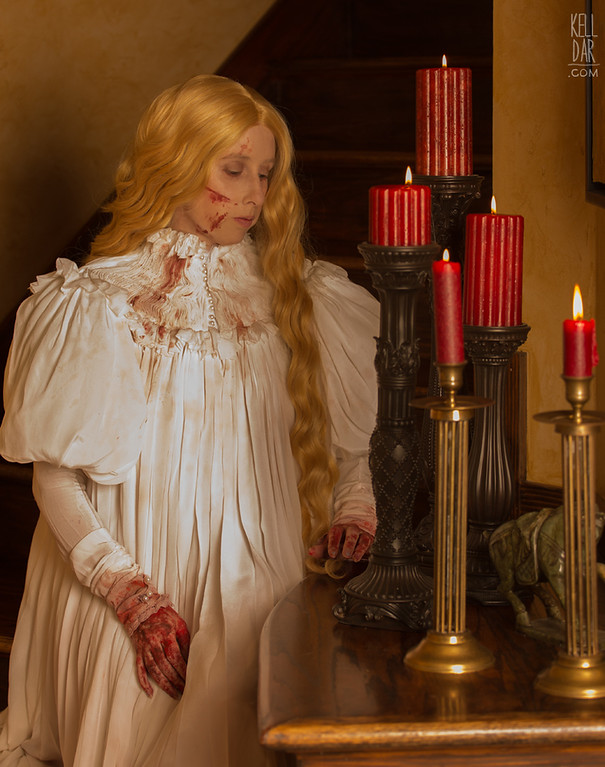
For the collar/yoke, I took 4 long segments of my fabric and cartridge pleated them. Once I had all 4 pieces made (2 back, 2 front) and fashioned into the shape I needed, I sewed them all together, then sewed them down onto the cotton base. I had made them a little long, so once it was sewn in place and gathered the way I wanted, I trimmed the edge of the excess ruffles to the right length. It closes via a hidden piece of white snap tape – the pearl buttons are just for show.

The rest of the nightgown I made using the remainder of my fabric, it is 6 panels, sewn together and cartridge pleated at the top, then sewn in place onto the edge of the cotton yoke. I left the train long when I hemmed it, and added a wrist loop so I could easily carry it when walking.
For the clay staining at the bottom of the hem, I used a mix of scarlet, brown and dark green dye. Unfortunately I did not think to ask my husband for assistance, which I usually do when dyeing something this large, and as a result, it “got away from me.” I got the fabric further down in the dye than I planned, and ended up with the “staining” coming way too far up. I tried a few different things to knock it down – dye remover, stain remover, bleach (eek), but nothing worked, except for making it look more yellow (ew). I didn’t really have time to keep messing with it, so I made the difficult decision to scrap it, and start over on that section with new fabric. (It really hurt, because I actually REALLY LIKED how the first version looked and still do. It was just too high and I knew I wouldn’t be happy with it in the end.)
So I ordered another 8 yrds of fabric, quick remade the panels, repleated, rehemmed and reattached. This time I had my husband holding the upper part of the dress up while I focused on getting the dye on the way I wanted at the hem. I was probably a little too hesitant this time around, being gun-shy from the first time around, and probably should have done a second round to get it a little darker. Oh well, I can always go back and do that later.

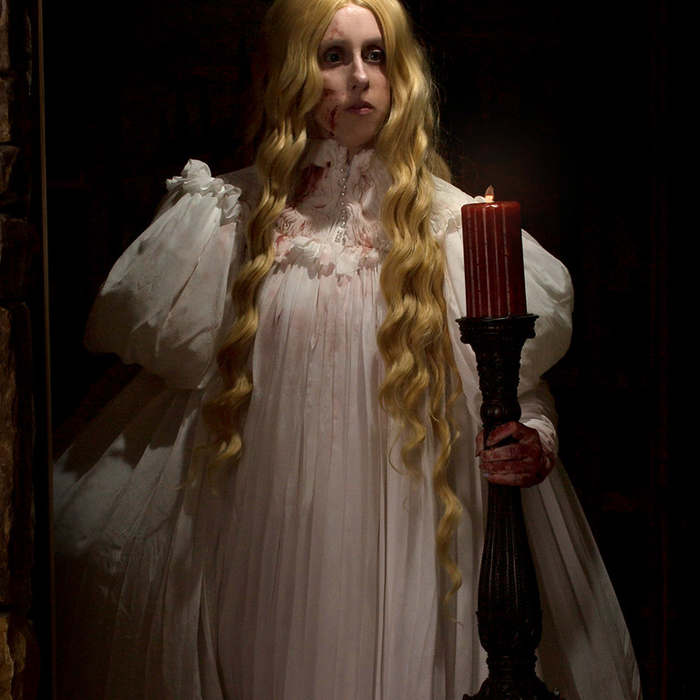
For the weathering, I used a mix of fabric paint and dye. I started out by dabbing the dark red/brown blood stains on the sleeves/collar using the fabric paint on a wadded up paper towel and a small paintbrush. Then I watered the paint down and did some more application with the paper towel. Finally I used some different mixes and dilutions of scarlet, brown and pearl grey dye to stain the sleeves and create some weathering on the collar and down the front. A lot of it washes out in photos, but I love the way it looks in person.
Finally, the last thing I did was to press the pleats in. That was boring and took forever and I don’t want to do it again ever.
Accessories:
I had some leftover nude spandex from another project, so I used that to make a very quick leotard (no finished edges or anything!) to wear underneath this. The nightgown can be kinda sheer when backlit or moving, and I wanted to preserve that, so a leotard seemed the best way to go.
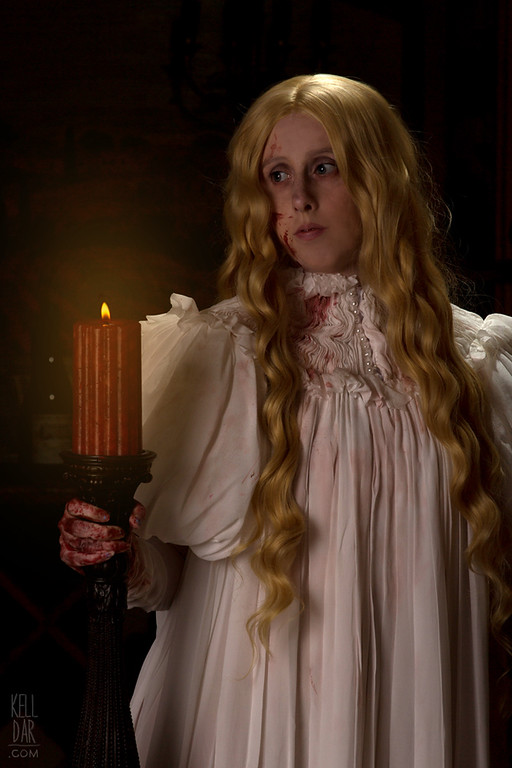
I initially wanted to use some prosthetics to create the face wounds – I bought some basic ones, then in my test runs had a lot of trouble getting them to work well. I could not get the edges to blend with my skin and the edges kept wrinkling up when I talked. I decided to forego it and just use some FX blood instead — unfortunately I ended up buying the kind that doesn’t dry, which wouldn’t work with my wig! I ended up painting it on with some red latex, which worked fine, dried quickly and came off easily without irritating my skin. Yay!

I did not want to have to wear makeup on my hands and have to worry about it transferring to everything I touched – so I took some of the nude spandex, made a quick pair of gloves, and weathered them with fabric paint. (Although, for the location photoshoot in the pics above, I did paint my hands for that since I’d be washing them off right after we were done.)
I was going to try to make some nude shoes, but much like the wound prosthetics I got lazy and ended up just wearing my pink suede flats from Disgust. I wore some little nude shoe liners with them, so for photos I took the pink shoes off and used the shoe liners instead.
The wig is an Arda “Arwen”, it’s really lovely. It was the first thing I bought for this costume — I had some money squirreled away from some Halloween sells, so I used that to buy my wig as soon as I decided to do it. It sat in its’ original bag until I opened it to put it on for the first time at Megacon in May!
History:
I was really pleased with this, it was very very comfortable to wear. There’s a few things I’ve love to fix – I’m not super happy with how the pleating at the collar kinda collapses on itself, so I’d love to redo that one day, but honestly I think it’s more likely for me to make a new Edith costume at this point (the yellow Nancy Drew dress!) than to revisit this one again.
![]()


![]()


Please note that none of these costumes are for sale! This is my personal portfolio.